


Overview
In modern application development, feature flags are the guardrails that keep experiments controlled and rollbacks safe when conditions shift. If feature flags act as the guardrails, observability provides the visibility: the headlights (traces), mirrors (logs), and dashboard instruments (metrics) that reveal what’s happening in the environment and how well a feature is performing. Together, feature flags and observability unlock powerful insights by correlating code changes with real-time system behavior. This combination reduces time-to-diagnosis and builds greater confidence when rolling out new features. In this post, we’ll walk through just how to add observability to a React Native application using LaunchDarkly’s observability SDK. To demonstrate the process, we’ll build on the PlusOne app, a simple counter app that includes increment (+1), reset, and error-triggering buttons. This lightweight demo provides a clean foundation to showcase how logs, traces, and errors can seamlessly flow into LaunchDarkly for monitoring and debugging.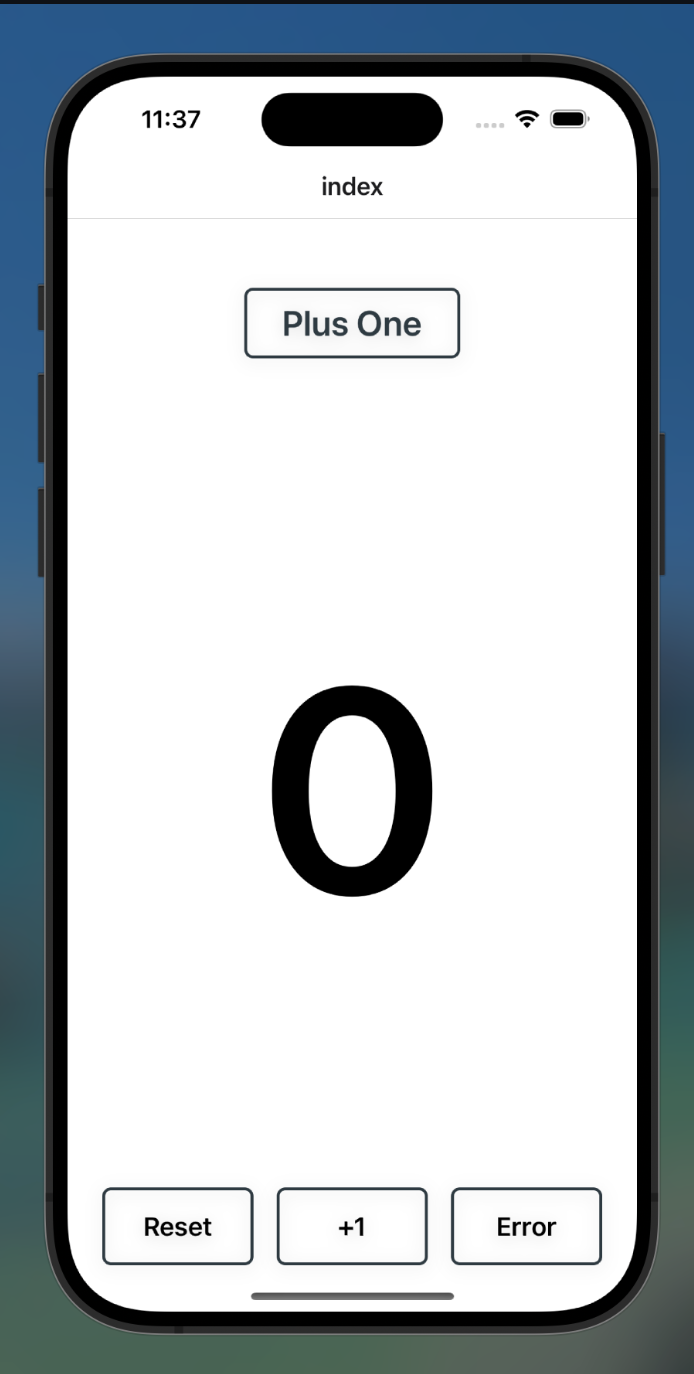
Screenshot final result of PlusOne app.
Prerequisites
- LaunchDarkly account. Sign up for a free one here.
- Visual Studio or another code editor of choice.
Setting up your environment
Before running a React Native app, make sure your development environment is set up correctly. You can find the full setup instructions for both Android and iOS here. In this tutorial, we’ll be running iOS, but keep in mind Expo Orbit, the platform we’ll be using to run our iOS simulator, requires both Xcode and Android Studio to be installed. After going through the instructions you should have the following installed:- Node JS (preferably via nvm)
- Watchman for file monitoring
- JDK via zulu package manager.
- Android Studio. Don’t forget to set your Android_Home environment variables.
- [Xcode](https://apps.apple.com/us/app/xcode/id497799835?mt=
- for the iOS simulator.
- Cocoapods for iOS dependency management.
- Expo orbit for running expo apps Android or iOS.
Android vars
Starting up the Plus
One app To get started, let’s clone the repo for the PlusOne app and runnpm install to ensure the proper dependencies are present in our node_modules file.
Cloning repo
Install using npm
Prebuild for iOS
Run expo app
Install using npm
Screenshot final result of PlusOne app.
Install using npm
- Initialized the SDK and plugin options.
- Defined the user context.
- Lastly, you initialized the client.
Screenshot of Sign in page.

Screenshot of landing page after sign in.
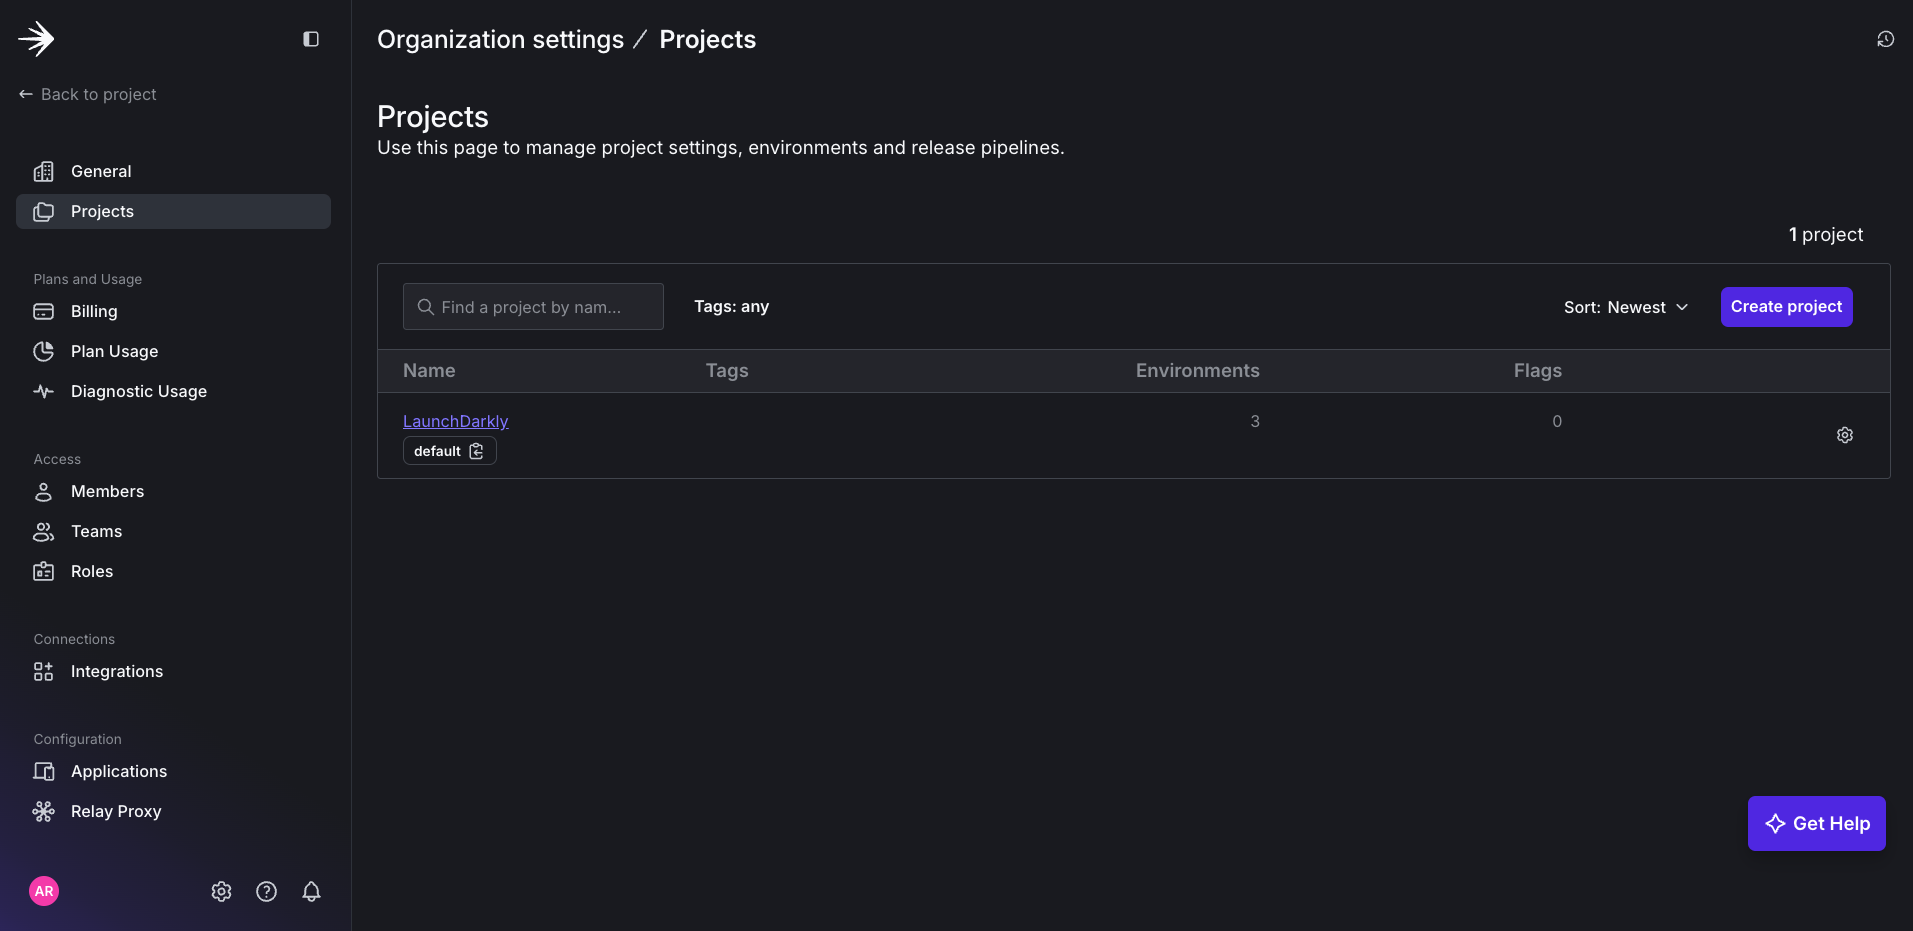
Screenshot of Project page.
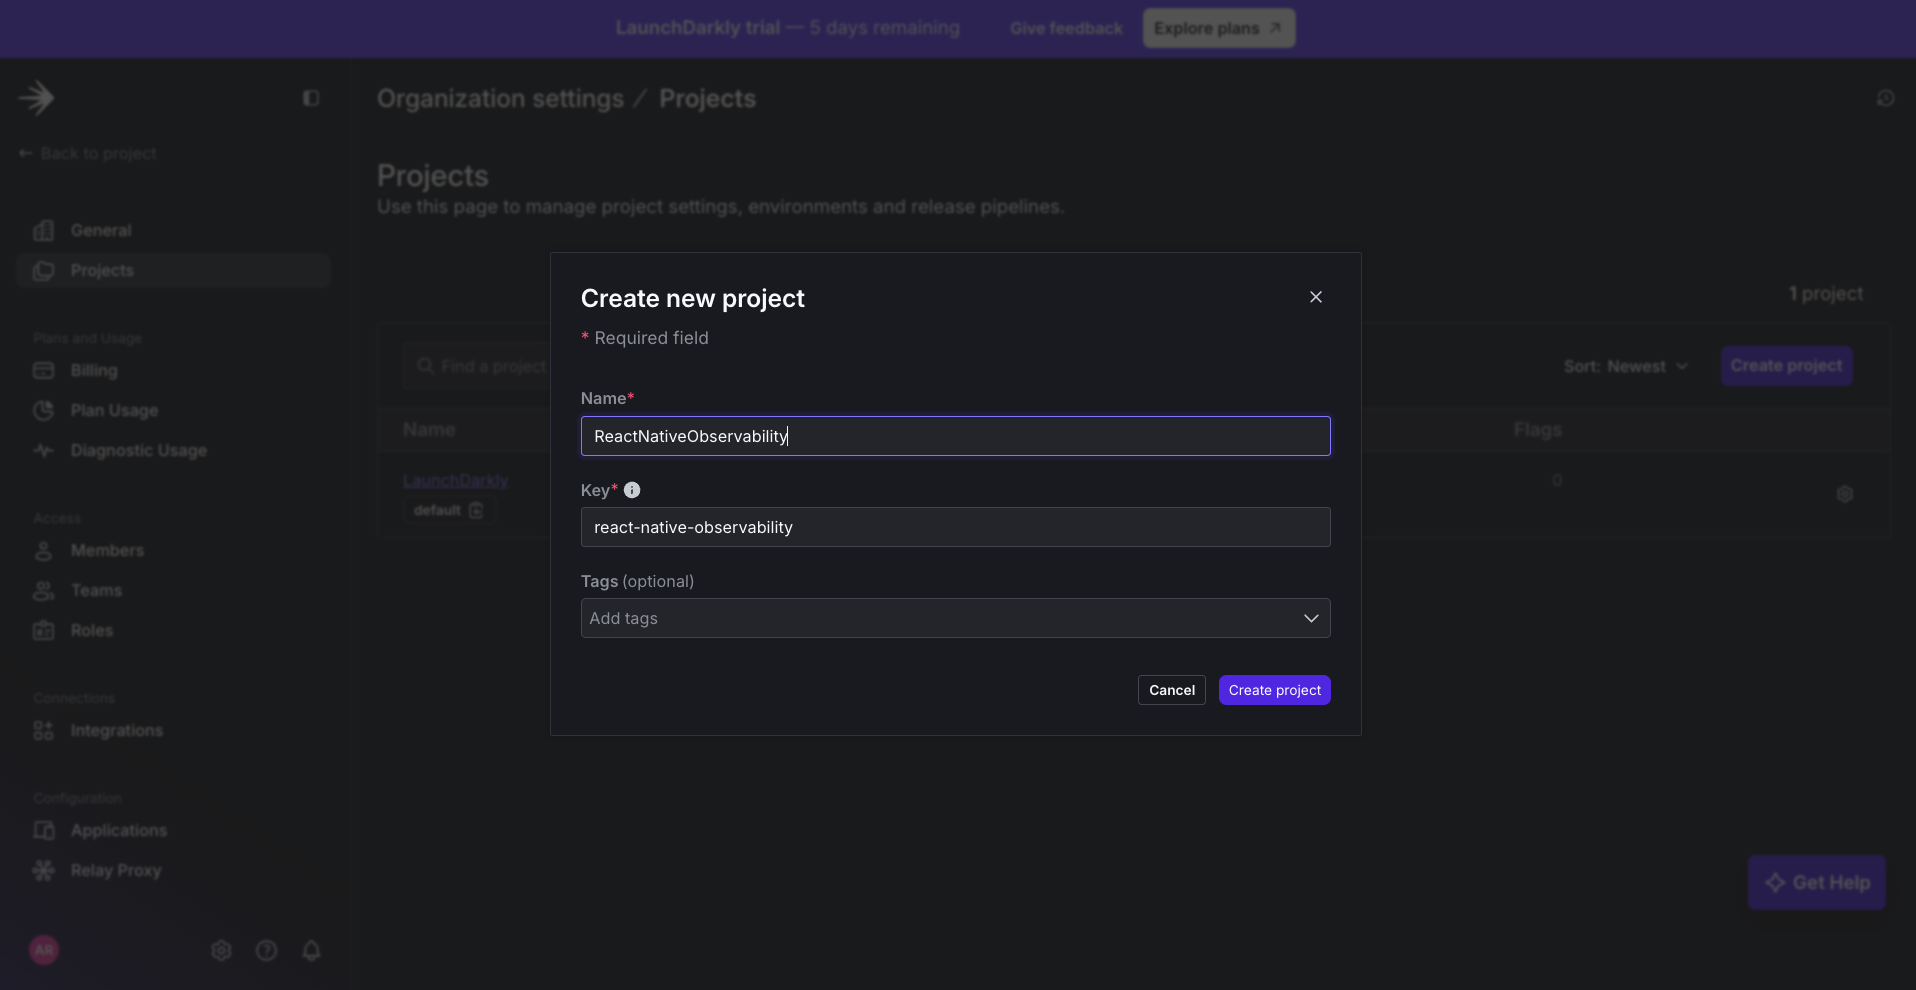
Screenshot of New project widget page.
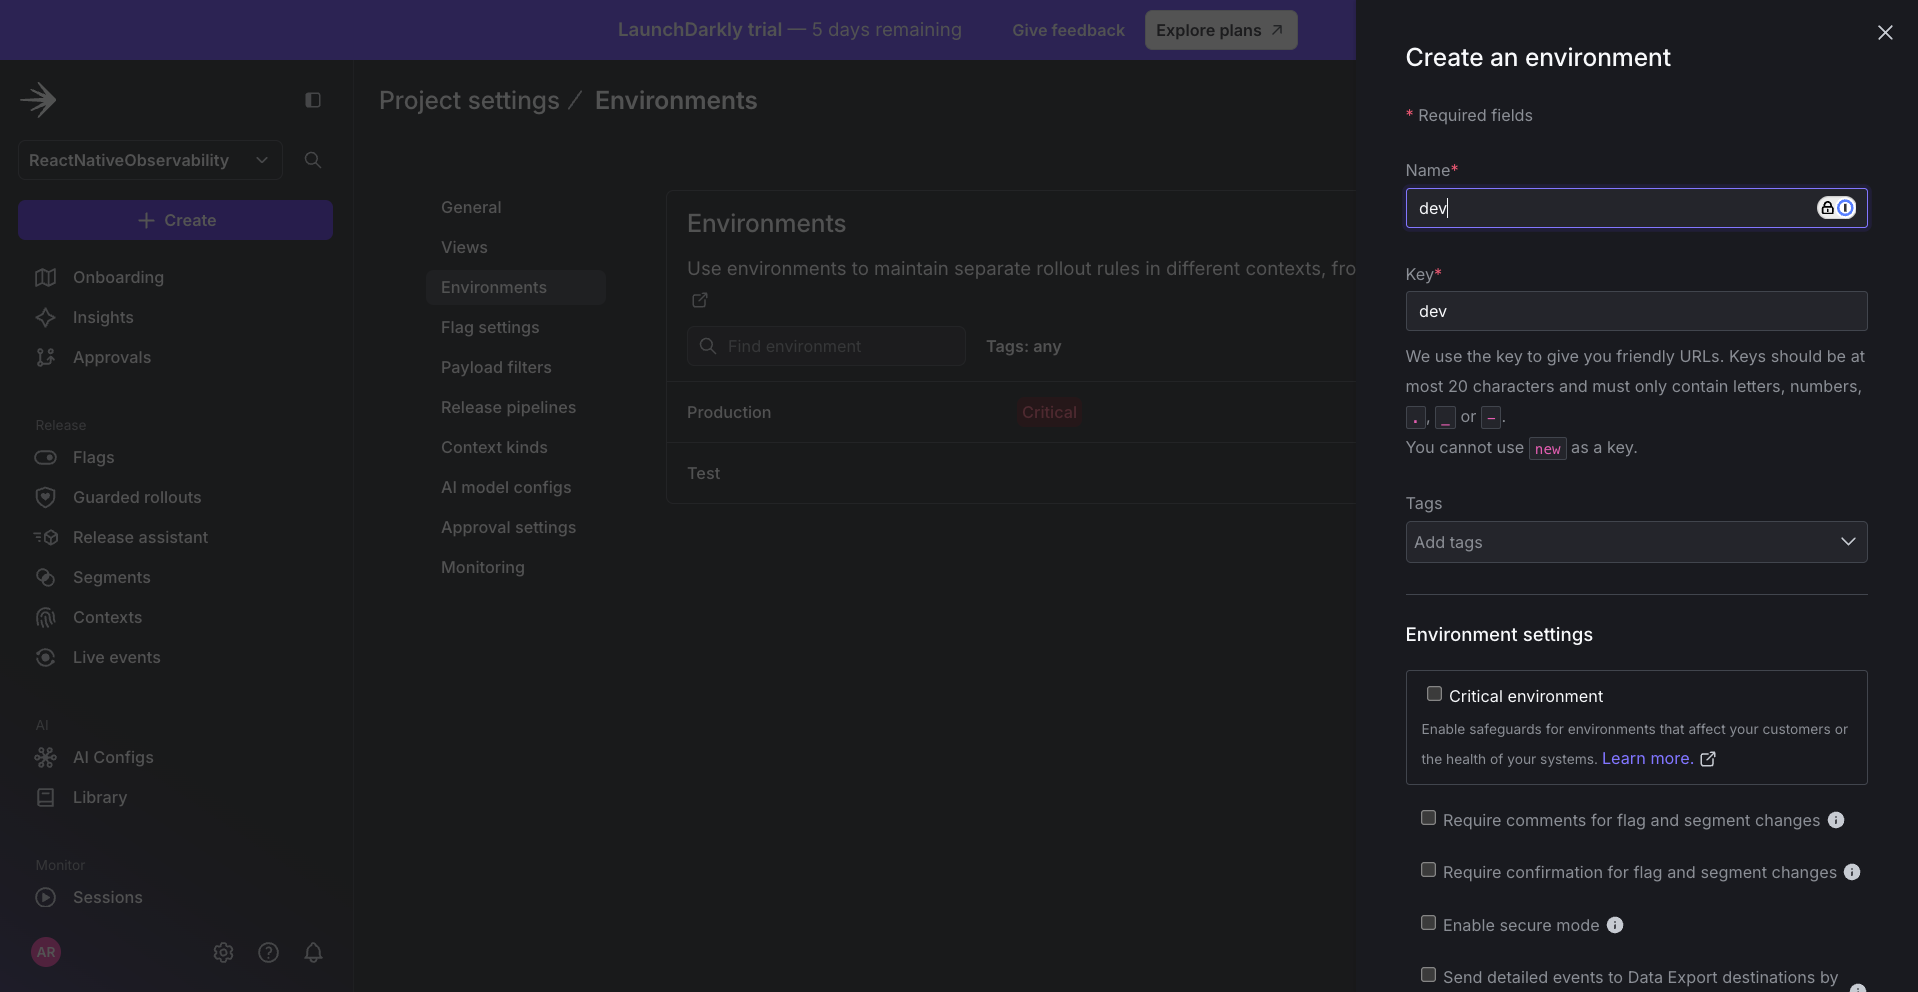
Screenshot of page to create new environment.

Screenshot of steps to copy mobile key
Logs
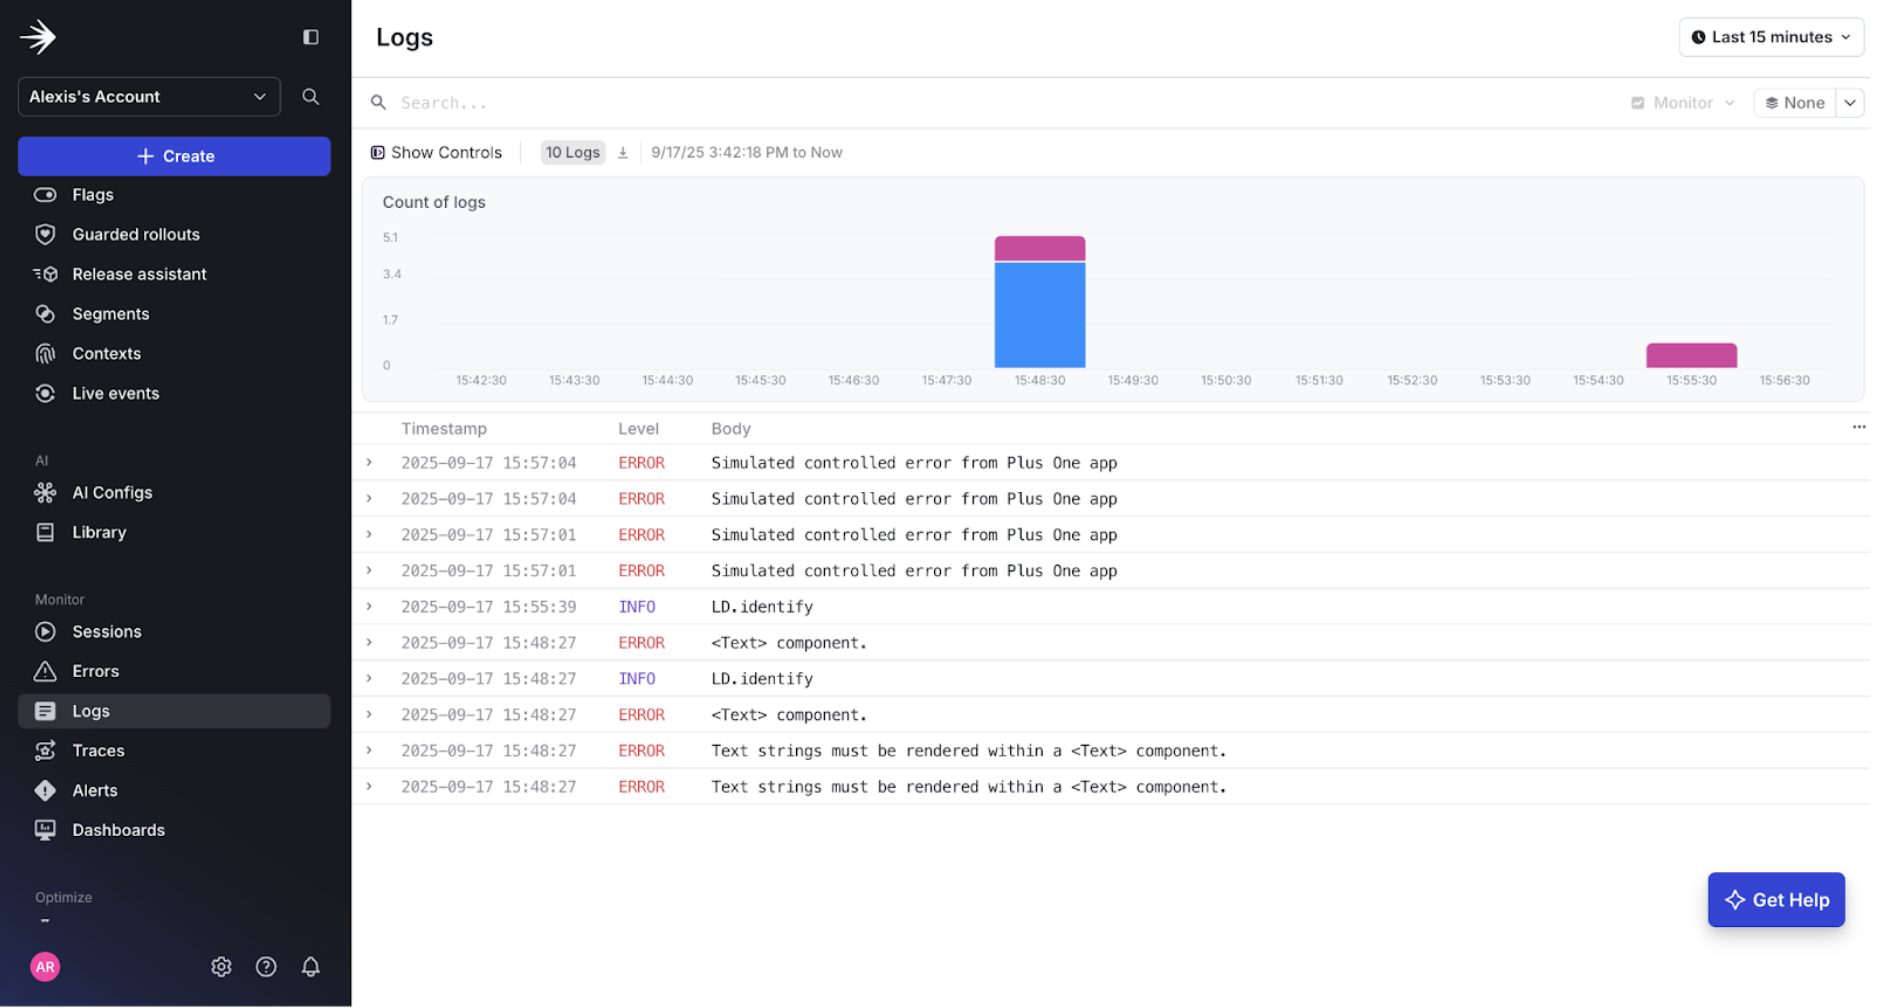
Screenshot of final logs page.
Traces
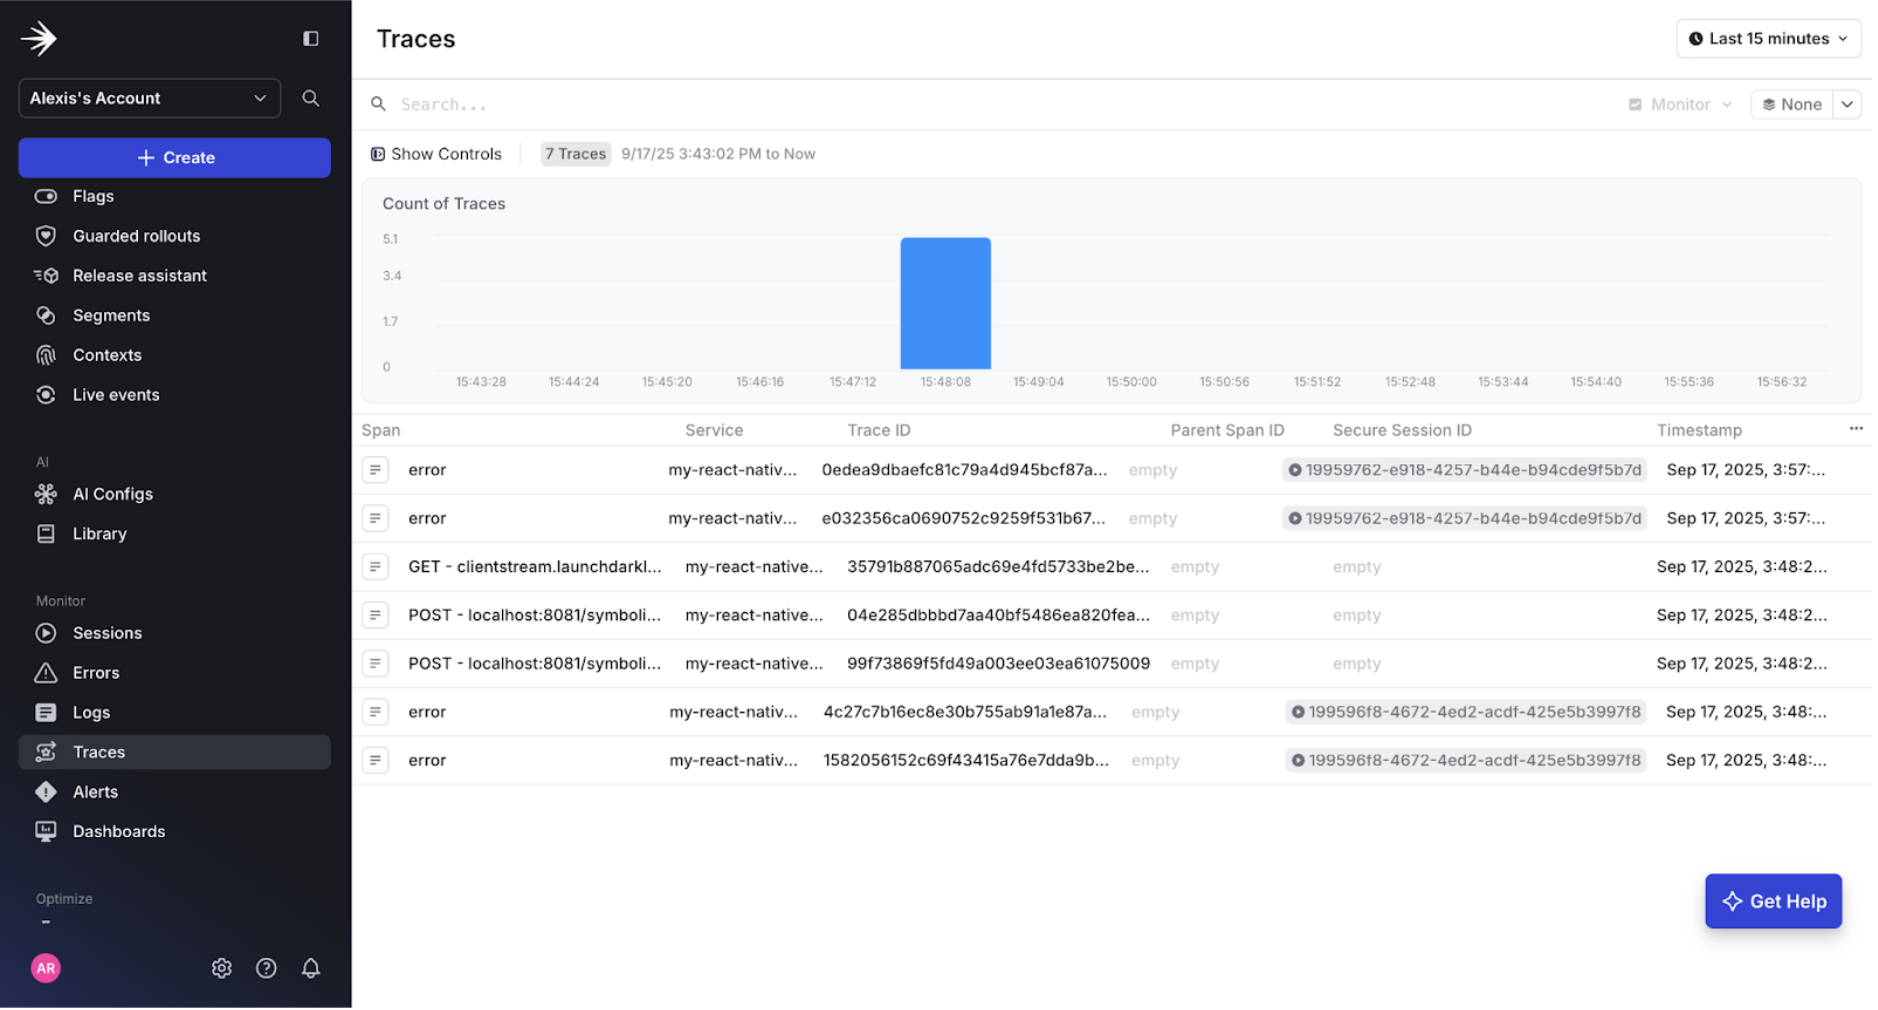
Screenshot of final traces page.
Errors
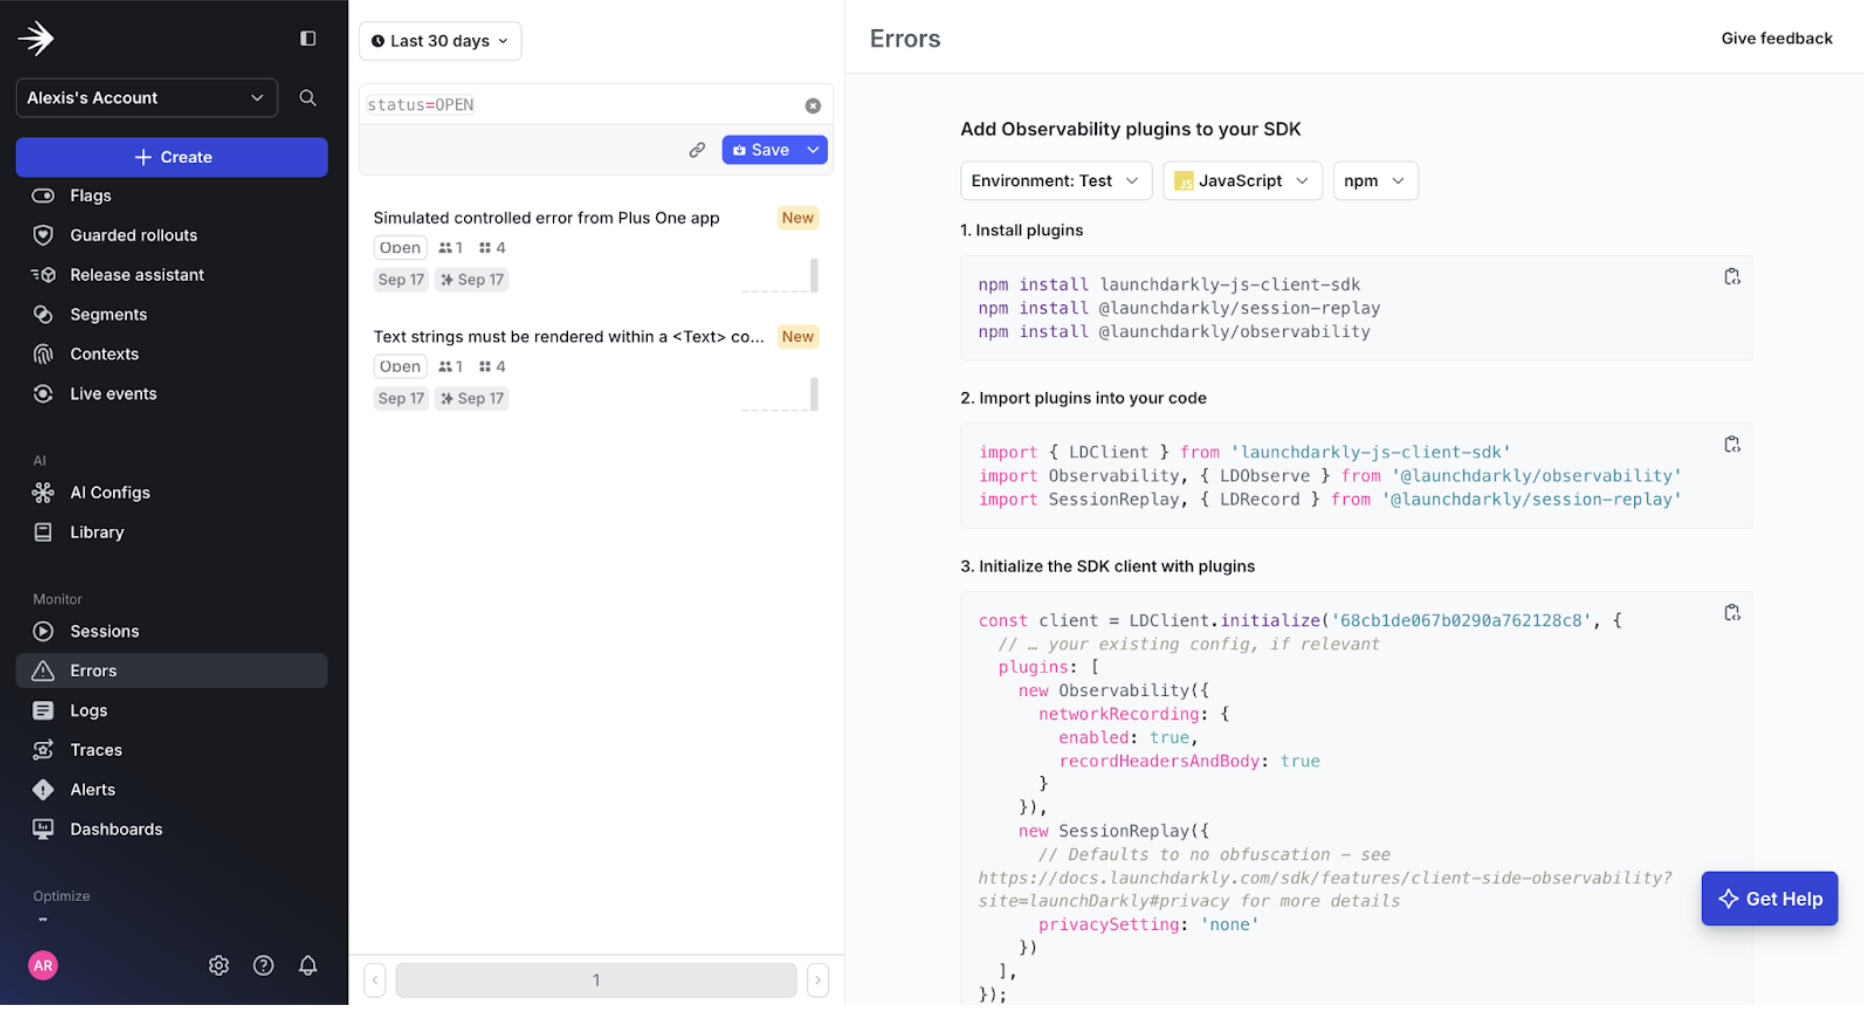
Screenshot of final errors page.