> ## Documentation Index
> Fetch the complete documentation index at: https://launchdarkly-preview.mintlify.site/llms.txt
> Use this file to discover all available pages before exploring further.
# Using the ServiceNow approvals integration
> This topic explains how to use the ServiceNow approvals integration to request approvals for LaunchDarkly changes in ServiceNow.
> For the complete documentation index, see [llms.txt](/llms.txt). For the full documentation snapshot, see [llms-full.txt](/llms-full.txt).
## Overview
This topic explains how to use the ServiceNow approvals integration to request approvals for LaunchDarkly changes in ServiceNow.
## Prerequisites
In order to complete this topic, you must meet the following prerequisites.
* You must have an existing ServiceNow account.
* You must have completed both parts of the setup for this integration. To learn more, read [Setting up the ServiceNow approvals integrations](/integrations/servicenow/setting-up).
## Request approval for changes in Service
NowTo request approval for changes in ServiceNow, you must request approval for the change in LaunchDarkly. The ServiceNow approvals integration supports approval requests for feature flag changes only.
To request approval in LaunchDarkly:
1. In LaunchDarkly, navigate to the feature flag that you wish to change and make your needed changes to the flag targeting, status, or variations.
2. Click **Review and save**. The "Save changes" dialog appears.
3. If the **Reviewer(s)** menu is not visible, select the **person** icon.
4. Choose one or more reviewers from the **Reviewer(s)** menu.
* Members and teams with permission to approve or decline approval requests appear in the top section of the menu.
* Members and teams that can only view approval requests appear in the bottom section of the menu. If you add a member or team from this list, they will be notified of the approval request, but cannot approve it.
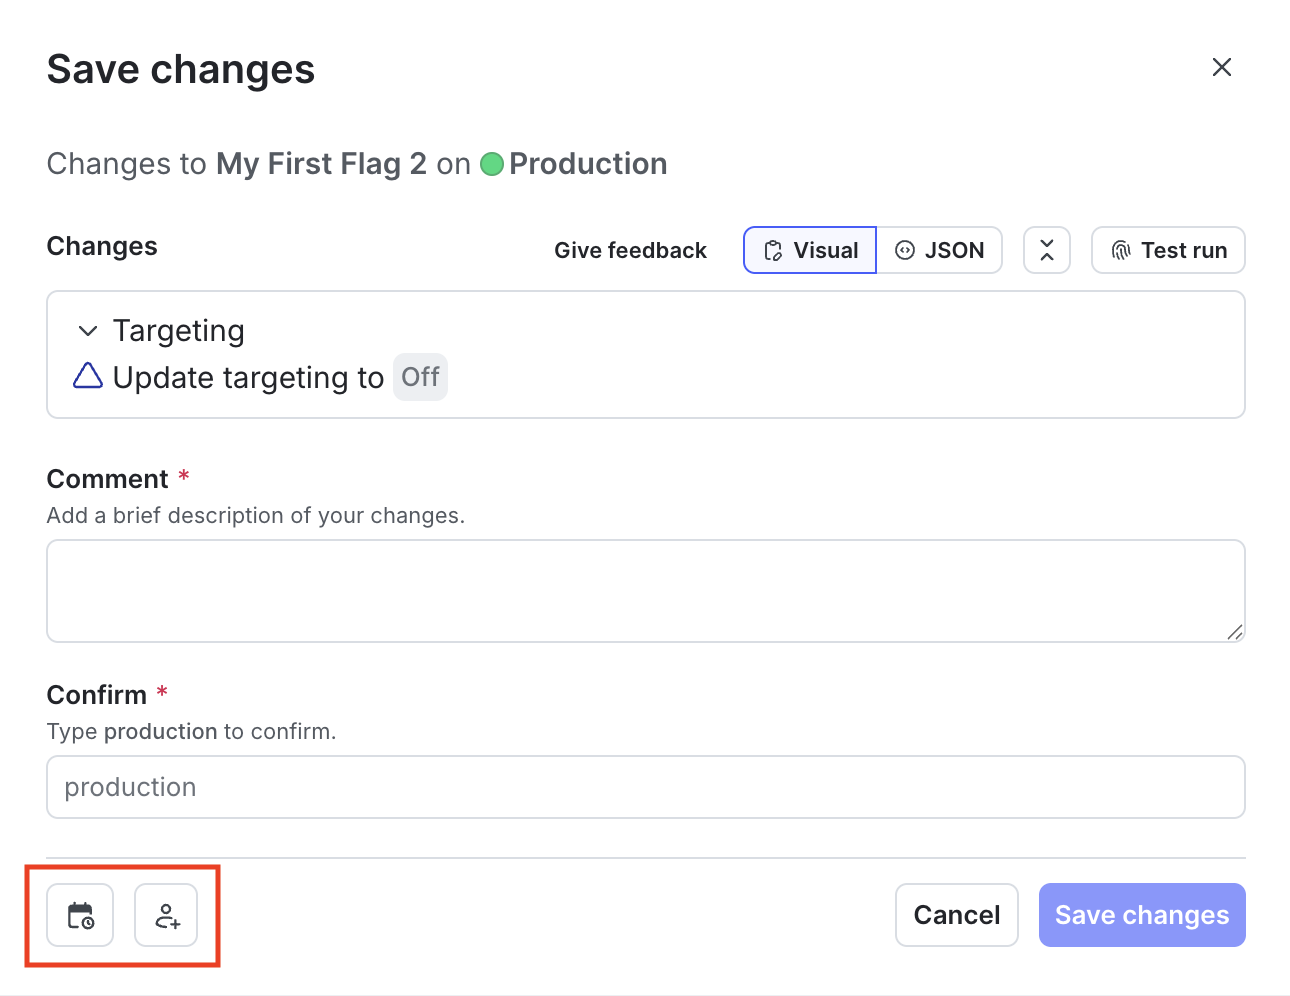
5. Enter a **Comment** to add details that help your reviewers understand the changes you made.
6. Click **Request approval**.
7. The approvers for feature flag changes receive a notification.
## View and approve approval requests in Service
NowThe approver for a flag change can view and, if using manual approvals, approve the request in ServiceNow. The ServiceNow approvals integration supports approval requests for feature flag changes only.
To view and approve the change request in ServiceNow:
1. In LaunchDarkly, click the "Pending changes" section in the right sidebar, or the **checkmark** pending changes icon. The "Pending changes" panel opens.
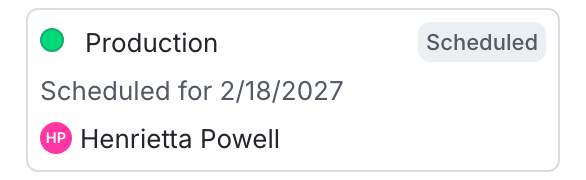
2. Next to the request you want to view, click **View**. The "Review request" screen appears.
3. Click **Review in ServiceNow**. The change request screen in ServiceNow appears:
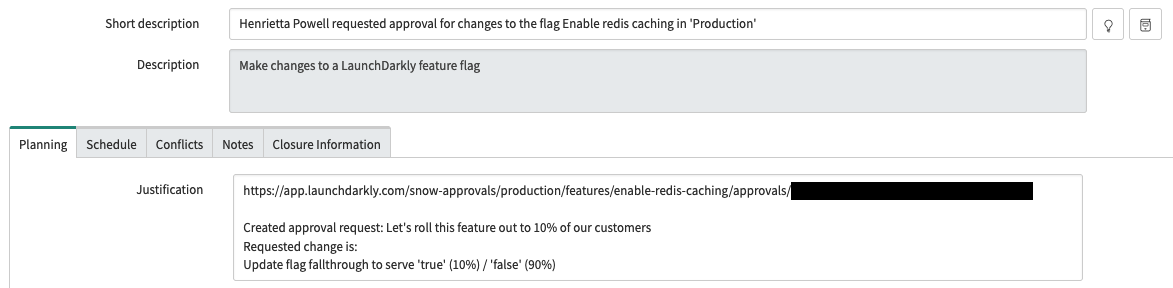
4. View or approve the request in ServiceNow. When the ServiceNow approval conditions are met, ServiceNow changes the state to "Implement."
* Alternatively, if ServiceNow changes the state to "Canceled," LaunchDarkly changes the approval request status to "Declined."
5. Apply the approved flag changes:
* If your LaunchDarkly environment's approval settings specify to **Automatically apply flag changes in LaunchDarkly**, then no further action is required. The flag changes in LaunchDarkly are applied when the associated ServiceNow change request is approved.
* If your LaunchDarkly environment's approval settings do not specify to automatically apply flag changes, then you must apply the flag changes manually. You can do this within LaunchDarkly by clicking **Apply Changes** in the "Pending changes" panel. After the approved flag changes are applied, the ServiceNow change request state changes to "Review."If you delete the approval request in LaunchDarkly, the ServiceNow change request state changes to "Canceled."LaunchDarkly uses ServiceNow state values from the ServiceNow APIs to determine if a change has been approved or denied in ServiceNow. To learn more, search for "State model and transitions" in [ServiceNow's documentation](https://www.servicenow.com/docs/) and choose the article for your ServiceNow version. Here is a table explaining the standard ServiceNow states and the equivalent LaunchDarkly approval statuses:
\| ServiceNow state
| LaunchDarkly approval status |
| - |
\| --- |
\| New
\| Needs review |
\| Implement
\| Approved |
\| Review
\| Completed |
\| Canceled
\| Declined |
## Service
Now field mappingsHere is a table showing the fields LaunchDarkly specifies when it creates a ServiceNow approval request:
\| Approval request field in ServiceNow
| Description |
| - |
\| --- |
\| short\_description
\| A brief summary of what is being requested. This is automatically generated and includes the LaunchDarkly member name, flag name, and environment. The [image of the change request screen in ServiceNow](#view-and-approve-approval-requests-in-servicenow) , above, shows an example. |
\| justification
\| A more detailed summary of what is being requested. This includes a link back to the LaunchDarkly approval request, the member-provided comment, and an automated change description. The [image of the change request screen in ServiceNow](#view-and-approve-approval-requests-in-servicenow) , above, shows an example. |
\| requested\_by
\| The ServiceNow member ID associated with the LaunchDarkly member making the change. LaunchDarkly members are mapped to ServiceNow member IDs using email addresses. |
\| start\_date
\| The timestamp when the approval request was created in LaunchDarkly, or the scheduled date if the approval request is for a scheduled change. |
\| end\_date
\| The start\_date with a small offset. |