> ## Documentation Index
> Fetch the complete documentation index at: https://launchdarkly-preview.mintlify.site/llms.txt
> Use this file to discover all available pages before exploring further.
# Managing release pipelines
> This topic explains how to duplicate and manage release pipelines.
> For the complete documentation index, see [llms.txt](/llms.txt). For the full documentation snapshot, see [llms-full.txt](/llms-full.txt).
Release pipelines are in beta, and are available only to certain customers with an Enterprise plan. Aspects of this feature may change without notice or become deprecated in favor of other release management features.
If release pipelines are not available to you and you want to try the feature, contact your LaunchDarkly account team.
## Overview
This topic explains how to duplicate and manage release pipelines.
## Duplicate release pipelines
As an alternative to creating a new pipeline, you can duplicate an existing one and edit it to make it unique. This may be faster if you wish to create multiple similar release pipelines.
To duplicate an existing release pipeline:
1. Navigate to **Release assistant**. The default release pipeline and its releases appear.
2. Click the release pipeline name, and select **Manage release pipelines**. The release pipeline list appears.
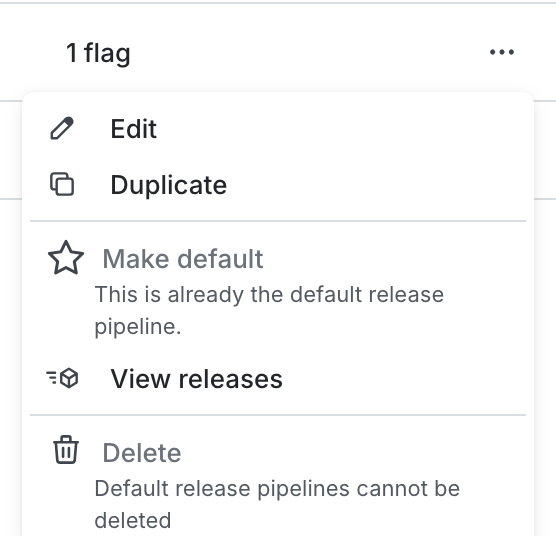
3. Find the release pipeline you wish to duplicate. Select its **three-dot** overflow menu.
4. Choose **Duplicate**. The new release pipeline opens in a new tab. You can identify it because it has the same name as the original release pipeline with `(copy)` appended to the end.
5. Modify the new release pipeline as needed.
After you create a release pipeline, you can edit any of its information, except for the release pipeline key, until you add releases to it. After you add releases to a release pipeline, you can only edit the pipeline name, description, tags, and phase names. This ensures that all flags are going through the same standardized release process.
## Update release pipelines
You can update both the default release pipeline other release pipelines that are not the default.
### Update default release pipelines
To update the default release pipeline:
1. Navigate to **Release assistant**. The default release pipeline and its releases appear.
2. Click the release pipeline name, and select **Edit release pipeline**.
3. Modify the release pipeline as needed.
* If there are no releases, you can edit the name, description, tags, phase names, phases, and audiences.
* If there are releases in the pipeline, you can edit the name, description, and tags.
4. Click **Save release pipeline**.
### Update other release pipelines
To update a release pipeline that is not the default:
1. Navigate to **Release assistant**. The default release pipeline and its releases appear.
2. Click the release pipeline name, and select **Manage release pipelines**. The release pipeline list appears.
3. Find the release pipeline you wish to duplicate. Select its **three-dot** overflow menu and choose **Edit**.
4. Modify the release pipeline as needed.
* If there are no releases, you can edit the name, description, tags, phase names, phases, and audiences.
* If there are releases in the pipeline, you can edit the name, description, and tags.
5. Click **Save release pipeline**.
## Set a default release pipeline
The first release pipeline you create automatically becomes your project's default release pipeline. If you have more than one pipeline, you can change the default.
To change a default release pipeline:
1. Navigate to **Release assistant**. The default release pipeline and its releases appear.
2. Click the release pipeline name, and select **Manage release pipelines**. The release pipeline list appears.
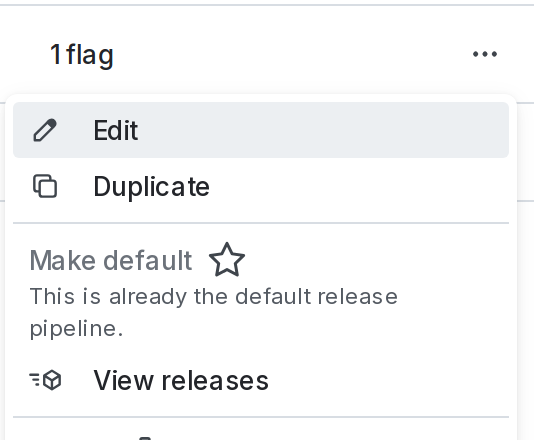
3. Find the release pipeline you wish to make the default release pipeline for this project. Select its **three-dot** overflow menu.
4. Choose **Make default**.
You can also use the REST API: [Update a release pipeline](/api-reference/release-pipelines-beta/update-a-release-pipeline)