> ## Documentation Index
> Fetch the complete documentation index at: https://launchdarkly-preview.mintlify.site/llms.txt
> Use this file to discover all available pages before exploring further.
# Required confirmation
> This topic explains how to use required confirmation for feature flag and segment changes.
> For the complete documentation index, see [llms.txt](/llms.txt). For the full documentation snapshot, see [llms-full.txt](/llms-full.txt).
Required confirmation is only available to customers on select plans. To learn more, [read about our pricing](https://launchdarkly.com/pricing/). To upgrade your plan, [contact Sales](https://launchdarkly.com/contact-sales/).
## Overview
This topic explains how to use required confirmation for feature flag and segment changes.
Requiring members to confirm that they wish to make changes may help them from changing the wrong flag or segment inadvertently.
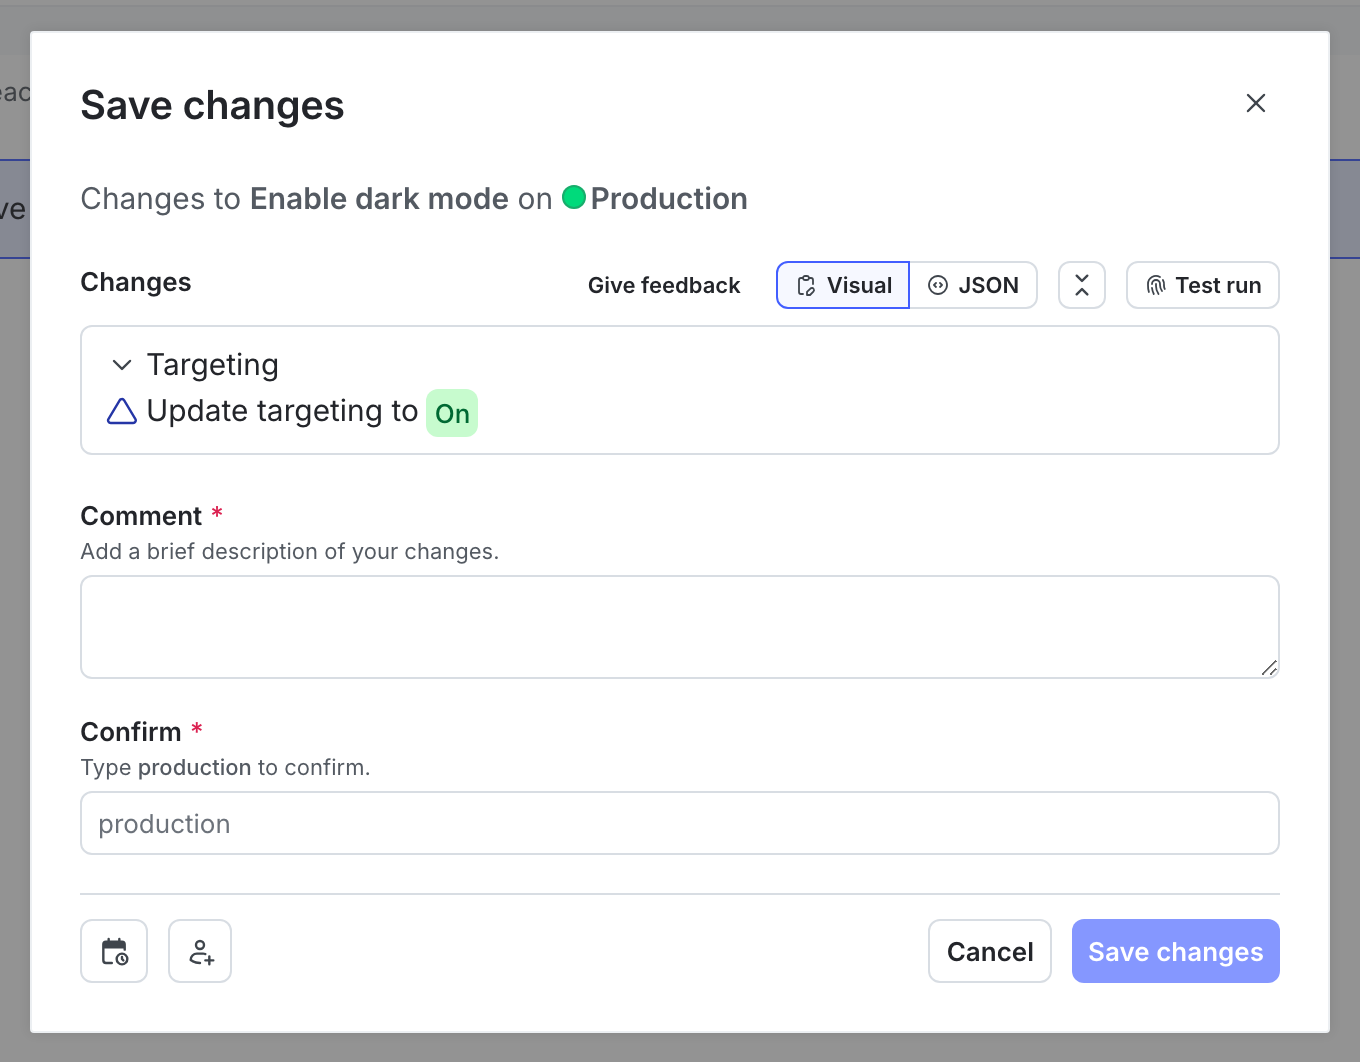
When **Require confirmation** is enabled, members must enter the environment name or key when they make changes from the **Flags** list or **Segments** list in the LaunchDarkly user interface (UI). Confirmation is not required for changes made with the LaunchDarkly API.
When you require confirmation in an environment, members must enter the environment name or key when saving any changes to a flag:
## Requiring confirmation
To require confirmation on changes in a new environment:
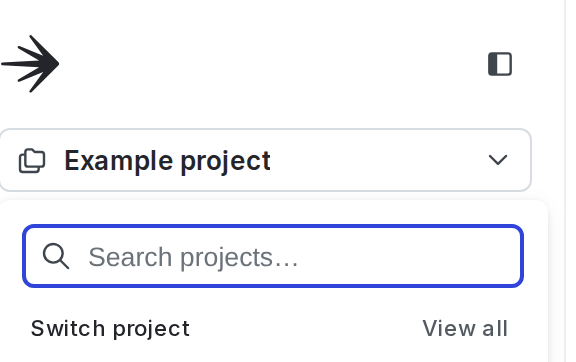
1. Click the project dropdown. The project menu appears:
2. Select **Project settings**.
3. Select **Environments**. The **Environments** list appears.
4. Click **Add environment**. The "Create an environment" panel appears.
5. Give your environment a human-readable **Name**.
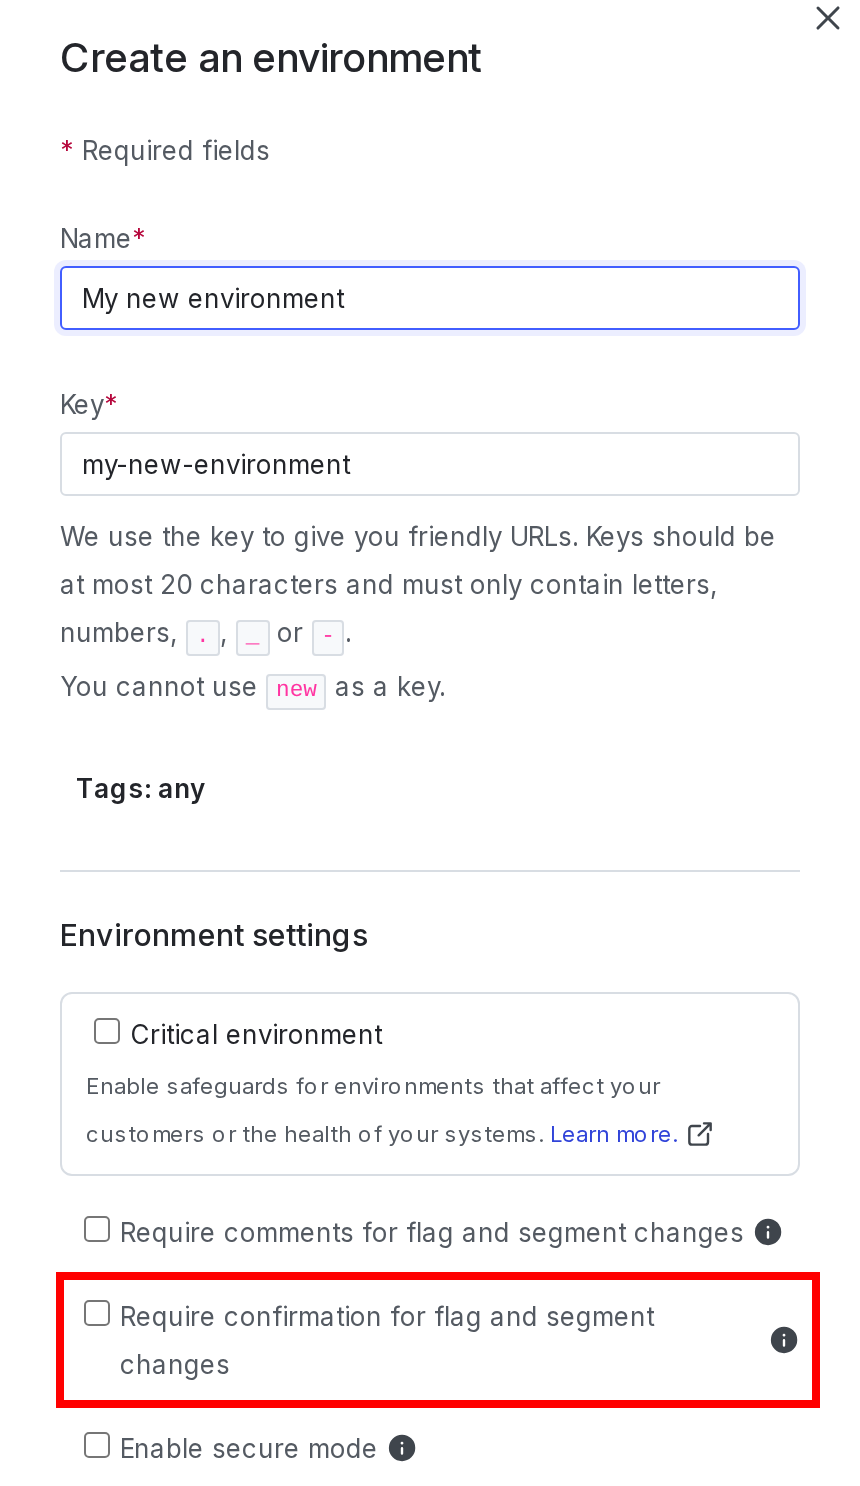
6. Select the **Require confirmation for flag and segment changes** checkbox:
7. Click **Create environment**.
To learn more, read [Create environments](/home/account/environment/create) and [Environment settings](/home/account/environment/settings).
To require confirmation in an existing environment:
1. Click the project dropdown. The project menu appears:

2. Select **Project settings**.
3. Select **Environments**. The **Environments** list appears.
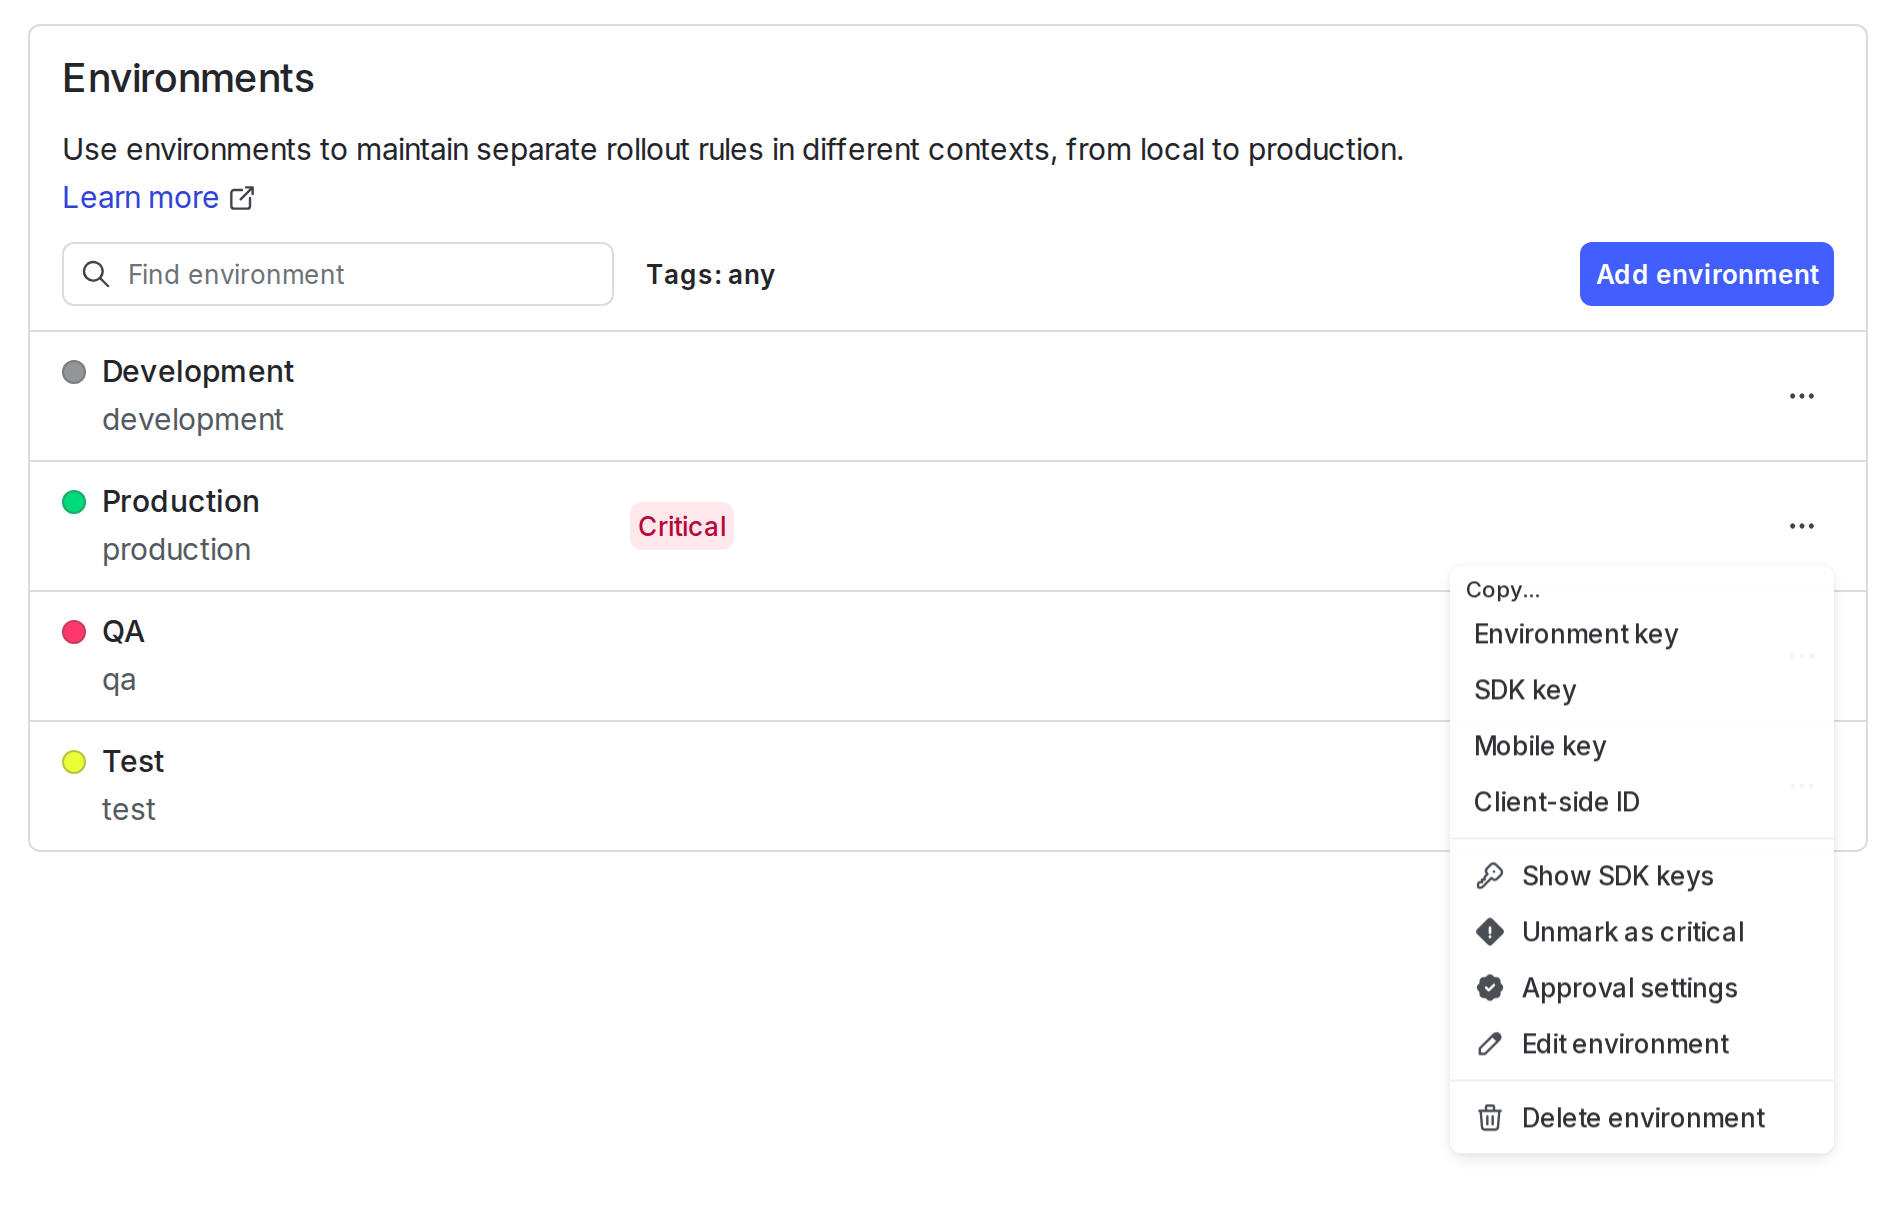
4. Next to the environment you want to edit, click the **overflow menu** and choose **Edit environment**. The **Edit environment** panel appears.
5. Select the **Require confirmation for flag and segment changes** checkbox.
6. Click **Save environment**.
Confirmation of flag changes is now required for your environment.