> ## Documentation Index
> Fetch the complete documentation index at: https://launchdarkly-preview.mintlify.site/llms.txt
> Use this file to discover all available pages before exploring further.
# Targeting contexts in rule-based and smaller list-based segments
> This topic explains how to target contexts in rule-based and smaller list-based segments.
> For the complete documentation index, see [llms.txt](/llms.txt). For the full documentation snapshot, see [llms-full.txt](/llms-full.txt).
## Overview
This topic explains how to target contexts in rule-based and smaller list-based segments. Smaller list-based segments are segments where the number of individual contexts targeted is 15,000 or fewer.
## Target contexts with rules
You can use custom targeting rules in a segment to include targets that match specific rules. Segment targeting rules function the same way as flag targeting rules. To learn more, read [Target with flags](/home/flags/target).
To customize a segment's targeting rules:
1. Navigate to the details page of the segment you wish to modify.
2. Click **+ Add rule** at the top of the page, or click the **+** button between existing rules.
3. Choose which kind of rule to add:
* Select **Target segments** to create a targeting rule based on an existing segment.
* In the **Operator** menu, select whether you want contexts in these segments or not in these segments to match the targeting rule.
* In the **Segments** menu, enter or select the segments you want to target.
* Select "Build a custom rule" to create a targeting rule based on contexts and their attributes.
* Specify a **Context kind**, **Attribute**, **Operator**, and **Values** for the rule.
4. (Optional) Enter a name for the rule.
5. If you want to add more criteria, click the **+** beside the rule criteria.
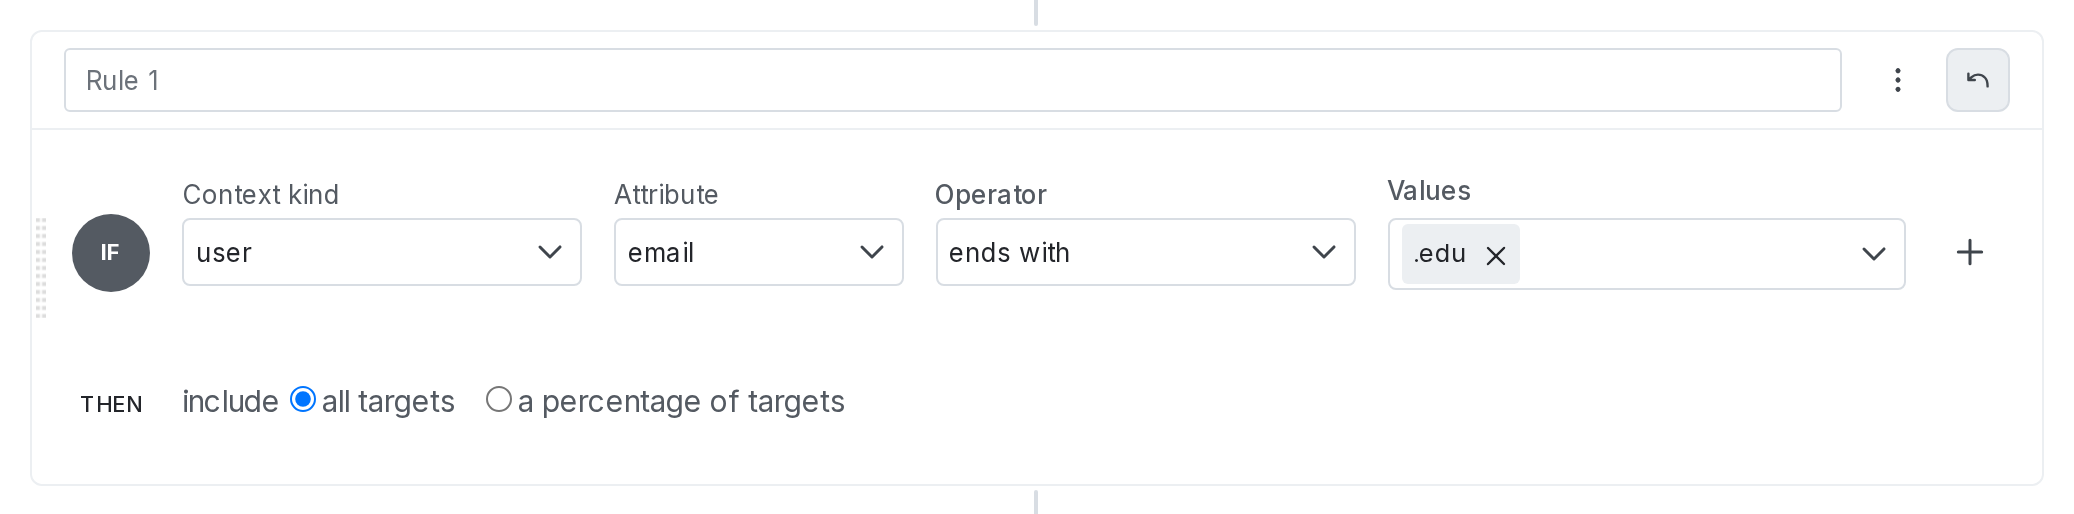
6. Select whether to include in the segment all contexts that match the rule, or a percentage of contexts that match the rule.
* If you select a percentage of contexts, select a context kind and enter the percentage to include in the segment.
7. Click **Review and save** or, if your environment [requires approvals](/home/releases/approval-config), click **Request approval**.
To reference this rule when working with other members of your organization, click the **three-dot** overflow menu and choose **Copy link to rule**.
To remove a targeting rule from a segment, click **Edit**. Then click the **overflow** menu and select "Delete rule."
When you specify rules for a segment, LaunchDarkly parses them in order of appearance from top to bottom. You can change how segment targeting applies based on the order of the rules you create.
After you add targeting rules, you can also add individual contexts. To learn how, read [Target individual contexts](/home/flags/rule-based-segments#target-contexts-with-rules), below.
Each segment can include up to 5,000 targeting rules and 50,000 values across all rules.
### How segment targeting works with percentages
If you target only a percentage of contexts that match your segment targeting rule, each flag that targets that segment will include the same contexts in its targeting, assuming there are no other differences between the flags' targeting rules.
For example, imagine you configure a segment to target 50% of user contexts that match its rule:
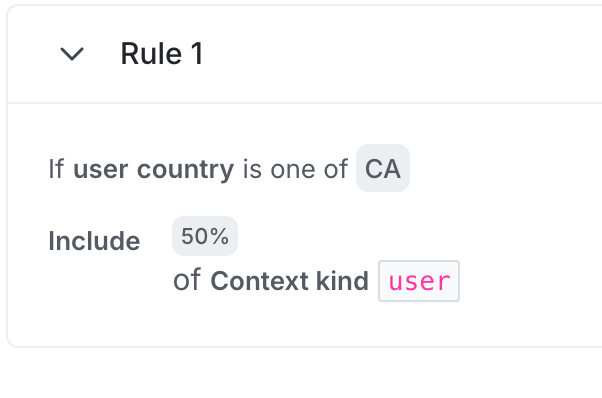
As a result, the segment:
* includes user contexts `A`, `B`, and `C`
* excludes user contexts `D`, `E`, and `F`
If there are no other differences between the flags' targeting rules, every flag that targets that segment will include user contexts `A`, `B`, and `C` in its targeting, and will exclude user contexts `D`, `E`, and `F`.
### Differences between flag targeting and segment targeting
There are some differences between flag targeting and segment targeting:
* Segments are environment-specific. They do not populate in environments other than the one you created them in.
* Segment targeting can reference another segment only if both segments exist in the same environment, and if you're using a version of an SDK that supports contexts.
Like flags, you cannot create a circular reference between two segments, for example, where segment A targets segment B and segment B targets segment A.
## Target individual contexts
You can individually target contexts for inclusion in or exclusion from a segment. You can also [edit individually targeted contexts in bulk](#bulk-edit-individual-contexts), and [schedule the removal of individually targeted contexts from a segment](#schedule-context-removal-from-segments).
To individually target a context:
1. Navigate to the details page of the segment you wish to modify.
2. Click the **+ Add rule** button and select "Include individuals" or "Exclude individuals."
3. Choose the context kind for the contexts you want to target.
* By default, the context kind is "user."
* To update this, click **Edit context**. In the "Select context kinds" dialog, choose one or more context kinds and click **Save**.
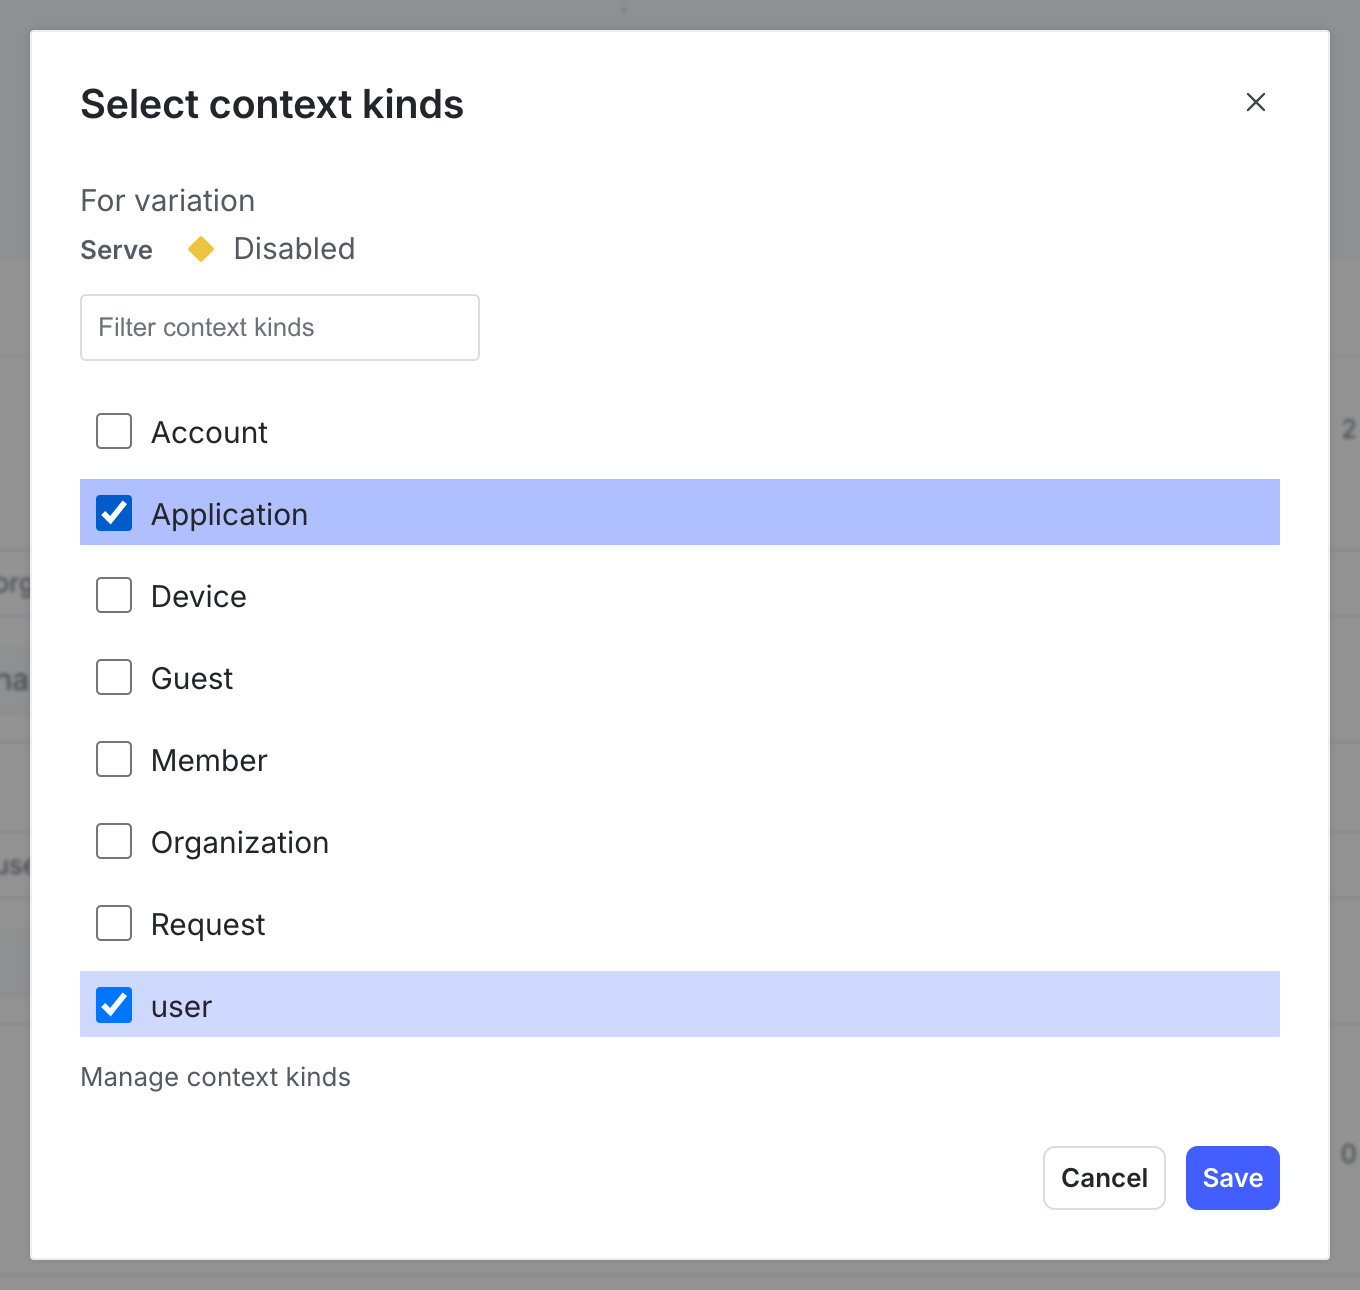
4. The "Included targets" or "Excluded targets" section updates to display the context kinds you selected.
5. Choose contexts to include in or exclude from the segment.
* You can search for contexts by name or key. Then, click the context name or key.
* If you want to target a context that has not yet been encountered by LaunchDarkly, you can enter its key.
* You cannot both include and exclude the same context.
6. Click **Save changes** or, if your environment [requires approvals](/home/releases/approval-config), click **Request approval**. The contexts are now individually targeted within the segment.
Here is an image of an individually targeted context:
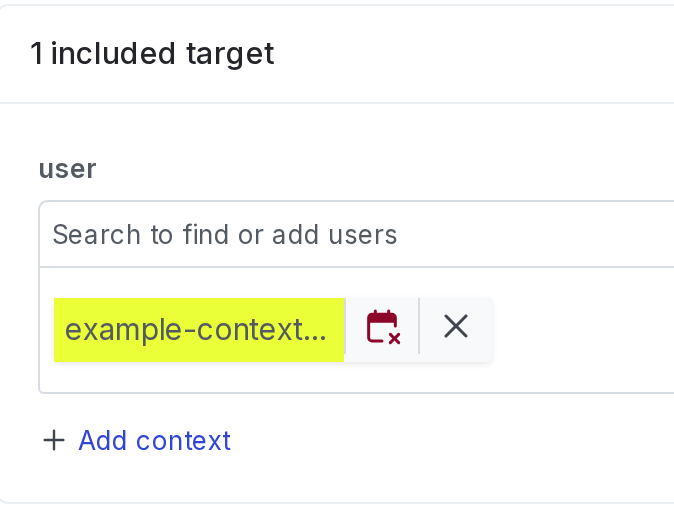
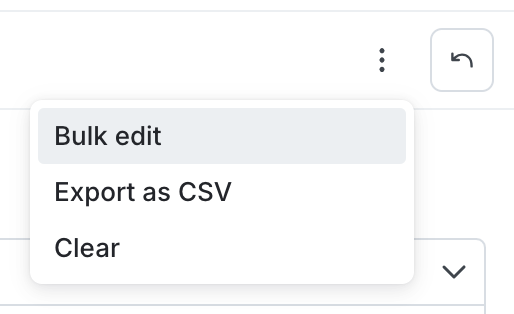
To remove all included or excluded contexts from a segment, click **Edit** in the header of the "Included targets" or "Excluded targets" section. Then, click the **overflow menu** and select "Clear."
After you add contexts to a list-based segment, you can also add rules. To learn how, read [Target contexts with rules](/home/flags/rule-based-segments#target-contexts-with-rules), above.
## Bulk edit individual contexts
If you have a long list of contexts you want to add, remove, or replace within a segment, you can bulk edit contexts from a segment's details page. You can only perform bulk editing tasks for one context kind at a time. You can include a maximum of 1,500 targets in a bulk editing task.
To edit individual targets in bulk:
1. Navigate to the details page of the segment you wish to modify.
2. In the "Included targets" or "Excluded targets" section, click **Edit** in the header of the section. Then, click the **overflow menu**.
3. Select **Bulk edit**. The "Bulk edit targets for this segment" dialog appears.
4. Use the action menu to select one of the following actions for the selected context kind:
* "Add" adds the selected contexts as targets
* "Remove" removes the selected contexts as targets
* "Replace" replaces all currently targeted contexts with the selected contexts
5. Use the context kind menu to select the context kind of the contexts you are targeting.
6. Enter a list of context keys or email addresses in the **Paste target keys** field, separated by a comma or new line. LaunchDarkly looks up contexts by key or email and displays them in the list on the right. If you want to target a context that has not yet been encountered by LaunchDarkly, you must enter its key.
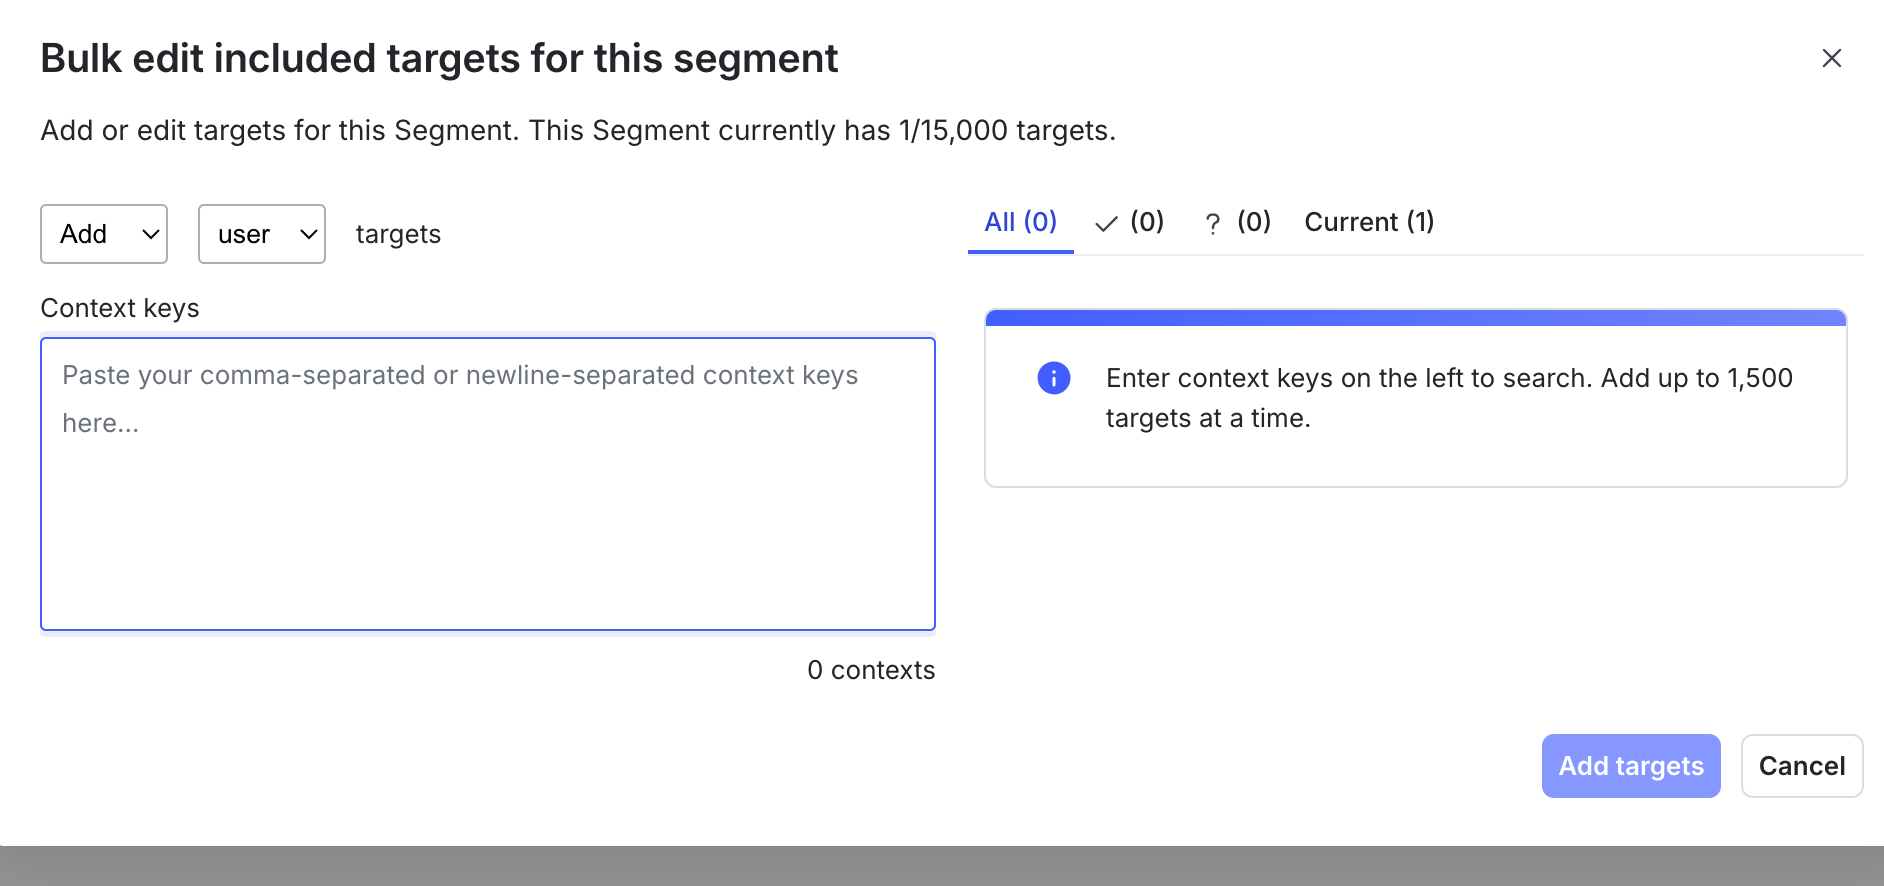
You can update the list on the right before you perform the selected action. The options for updating the list include the following:
* **All** represents all of the contexts that may be impacted by the action, whether they are added or removed. Check the context's checkbox for the action to apply.
* **The checkmark** represents inputted context keys that currently match contexts in the system. For example, if you enter the context key `example-context-key`, and `example-context-key` already exists in LaunchDarkly, it will show up in this list.
* **The question mark** represents contexts with no matching records in LaunchDarkly. If you are adding contexts and the contexts do not currently exist in LaunchDarkly, they will be added to the targeting list.
* **The exclamation mark** represents context key inputs with multiple matching records. For example, if you enter the email address `sandy@example.com`, but there are multiple context keys that have `sandy@example.com` as an email address, the system may return multiple matching records. You can select the correct record by clicking the checkbox.
* **Current** lists all of the currently targeted contexts for the segment.
7. Click **Add targets**, **Remove targets**, or **Replace targets** to perform the selected action.
## Schedule context removal from segments
Scheduling removal dates is only available to customers on select plans. To learn more, [read about our pricing](https://launchdarkly.com/pricing/). To upgrade your plan, [contact Sales](https://launchdarkly.com/contact-sales/).
You can schedule an expiration date and time on which LaunchDarkly removes a context from a segment. You can do this for existing contexts, or when you add a context to a segment.
This is useful if you want to give contexts temporary access to a feature that has their segment targeted. The ability to remove contexts from segments, instead of flag targeting, allows you to keep your flag's targeting rules permanent and clean.
To set a targeting removal date:
1. Navigate to the details page of the segment you wish to modify.
2. In the "Included targets" or "Excluded targets" section, click the **calendar** icon on the context you want to remove:
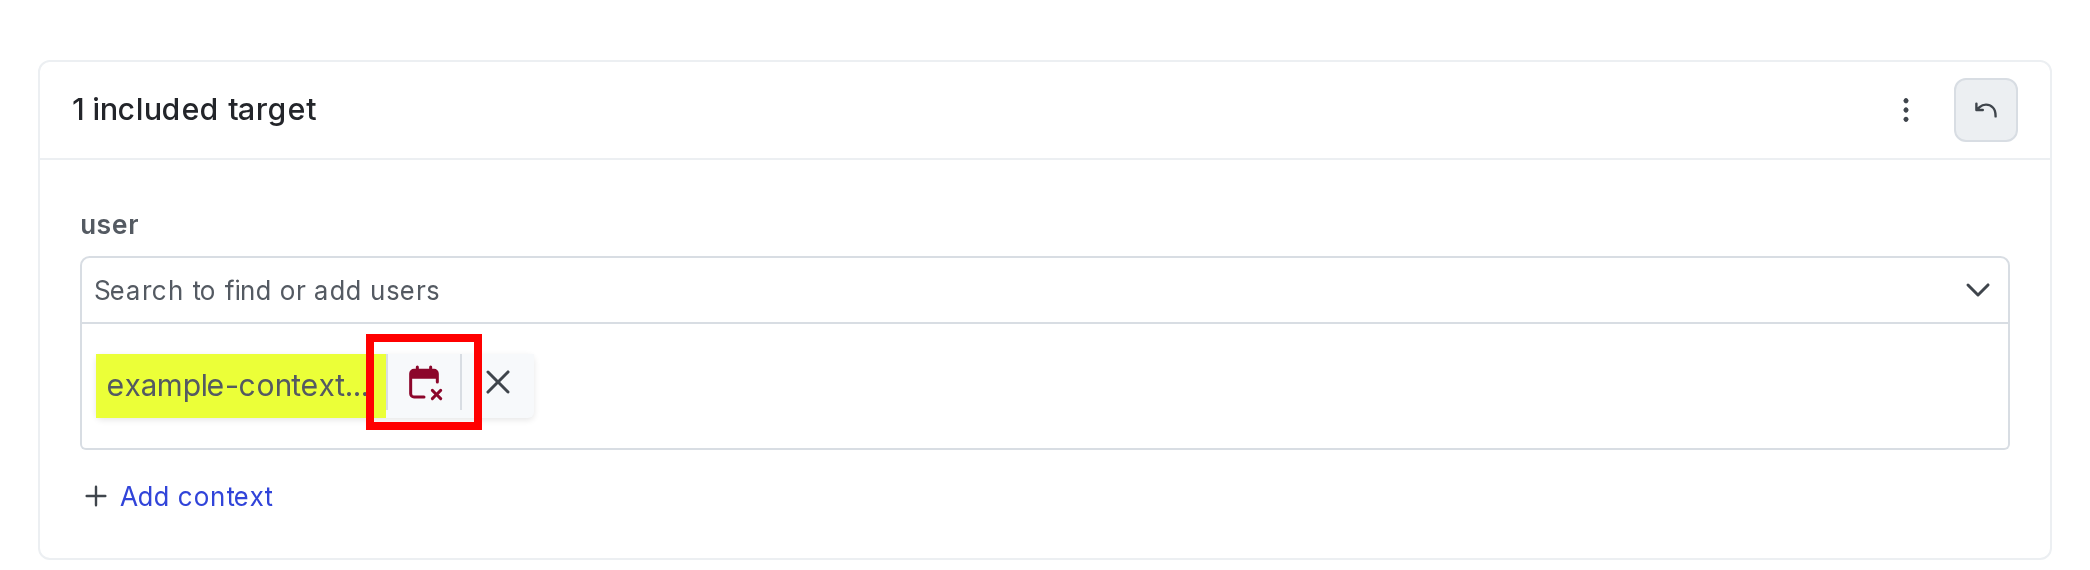
3. In the "Schedule removal" dialog, set a date and time for the context to be removed from the segment.
4. Click **Save** or, if your environment [requires approvals](/home/releases/approval-config), click **Request approval**.
Additionally, when you add a context to a segment, you can schedule it for removal later by clicking **Add and schedule removal**.
Here is an image of the targeting field:
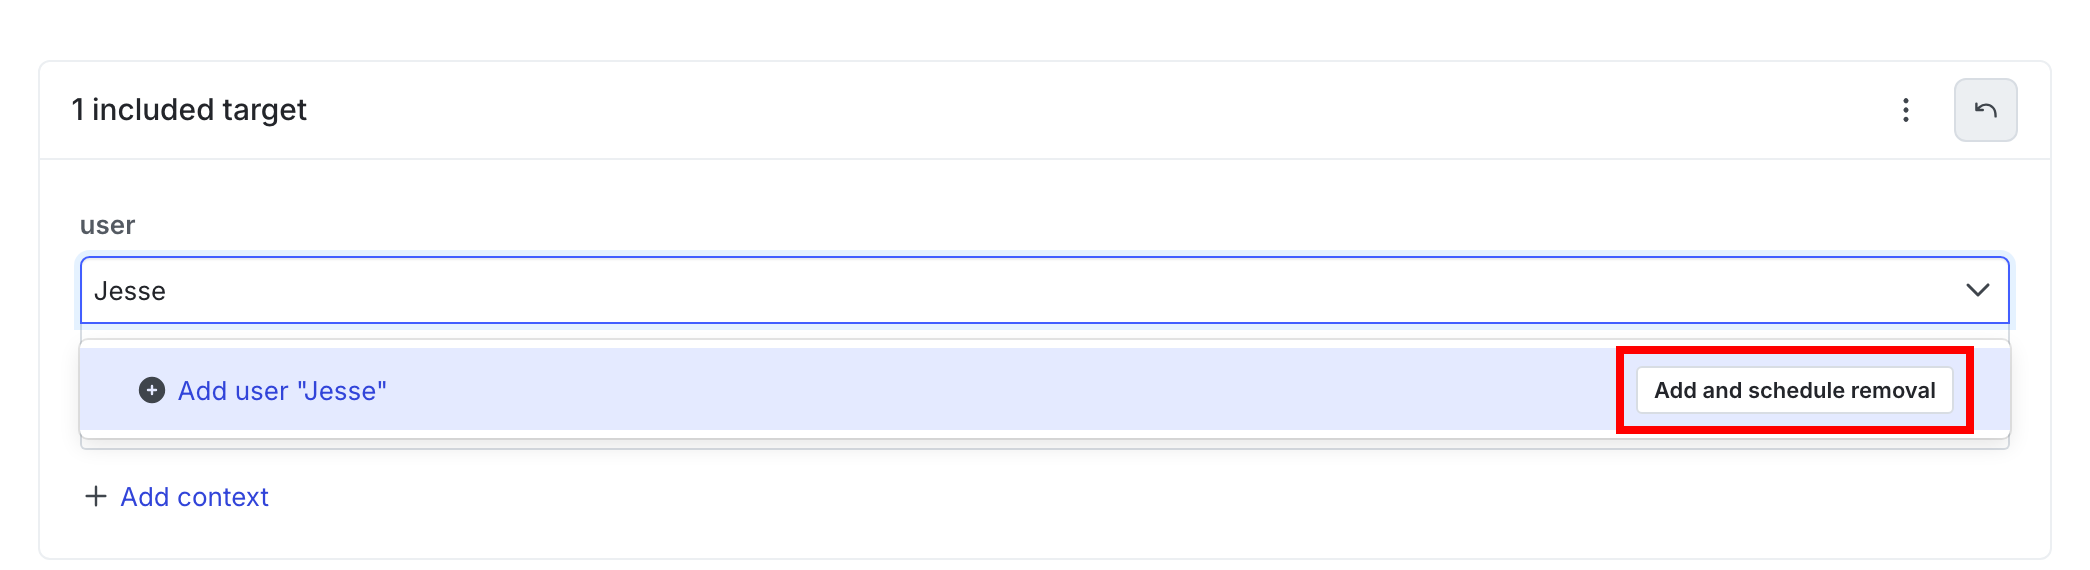
You can also use the REST API: [Update expiring targets for segment](/api-reference/segments/update-expiring-targets-for-segment)