> ## Documentation Index
> Fetch the complete documentation index at: https://launchdarkly-preview.mintlify.site/llms.txt
> Use this file to discover all available pages before exploring further.
# Creating views
> This topic explains how to create views and link resources to those views.
> For the complete documentation index, see [llms.txt](/llms.txt). For the full documentation snapshot, see [llms-full.txt](/llms-full.txt).
## Overview
This topic explains how to create views and link resources to those views. A given resource, such as a flag, can be linked to more than one view.
## Create a view
To create a new view:
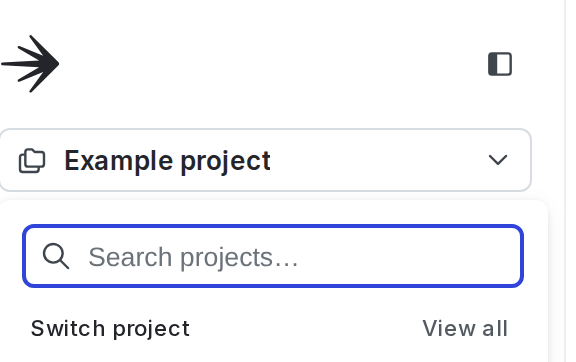
1. Click the project dropdown. The project menu appears:
2. Select **Project settings**.
3. Select **Views**. The Views list appears.
4. Click **Create view**. The "Create view" dialog appears:
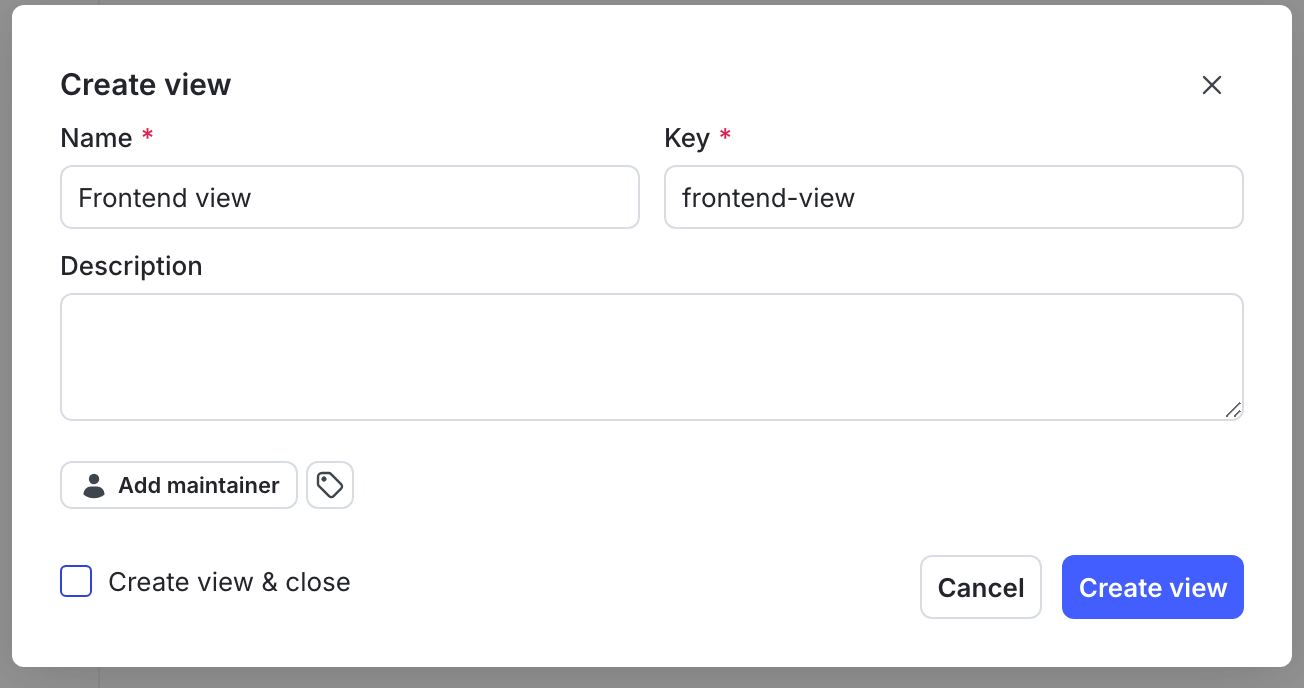
5. Enter a unique, human-readable **Name** for the view.
6. (Optional) Update the view **Key**. A suggested key auto-populates from the name you enter, but you can customize it if you wish.
7. (Optional) Enter a **Description**.
8. (Optional) Click the **tag** icon. Enter a tag name to search for an existing tag or create a new one with that name.
9. (Optional) Click **Add maintainer** to set the maintainer of the view. The maintainer defaults to the view's creator if you do not set one.
10. Click **Create view**. The "Add flags to \[view]" dialog appears.
11. Check the flags that you want to include in the view. You can add segments after creating the view.
12. Click **Add flags**.
You can also create a view and then link flags and segments later. To create a view without linking any resources, follow steps 1-9 in the procedure above, check the **Create view & close** checkbox, and then click **Create view**.
After you create a view, you can use it in role policies to restrict access, for instance, to restrict access to sets of flags. For an example of using a view in a role policy, read [Example: View-specific permissions](/home/account/roles/example-roles#example-view-specific-permissions).
You can create up to 300 views per project.
## Link resources to a view
You can link flags or segments to an existing view when you create the resource. You can also link them to existing views at any time, from the **Views** list.
### Link to a view from the resource
To link a flag or segment to a view from the flag or segment details page:
1. From the detail page, find "Views" in the right sidebar.
2. Click **add view**.
3. Check the checkbox next to the views that you want to link the flag or segment to.
### Link to a view from the views list
To link flags or segments to an existing view from the **Views** list:
1. From **Project settings**, select **Views**. The Views list appears.
2. Find the view you want to link a resource to.
3. Click the **overflow menu** for the view.
4. Select **Update linked resources**. The "Linked resources" tab appears.
5. Click **Add** and select the resource type from the dropdown menu. The "Add \[resource]" dialog appears.
6. (Optional) Use the search field or the "Filters" menu to limit the number of resources displayed.
7. Check the resources that you want to include in the view.
8. Click **Add \[resource]**.